


Art Process: Last Trip (Dead Space Trucker)
The process & thinking of painting in acrylics after a long hiatus

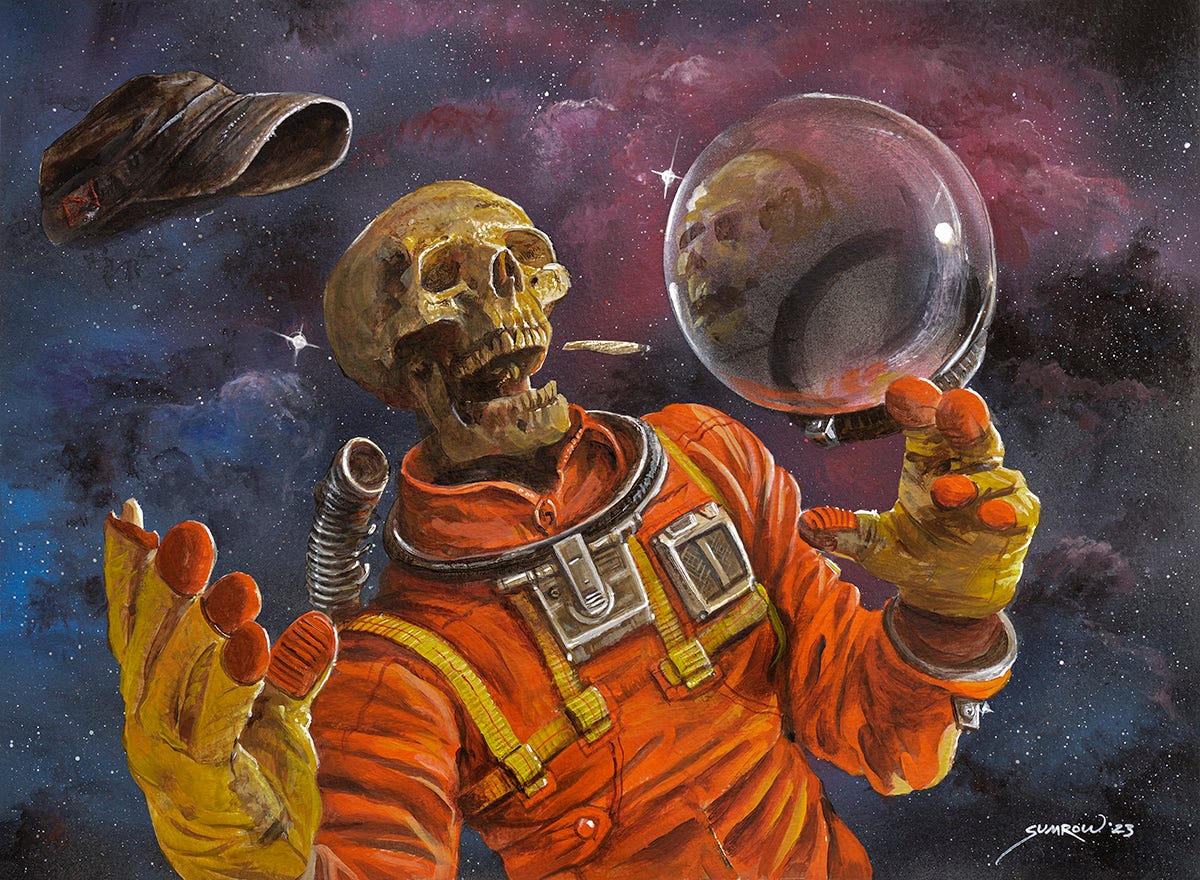
My lovely Patreons suggested and voted for “Space Suit with Skeleton”. Ok. So shall it be written. So shall it be done. Let’s get to it. How it was done...
1: Sketchbook for the win
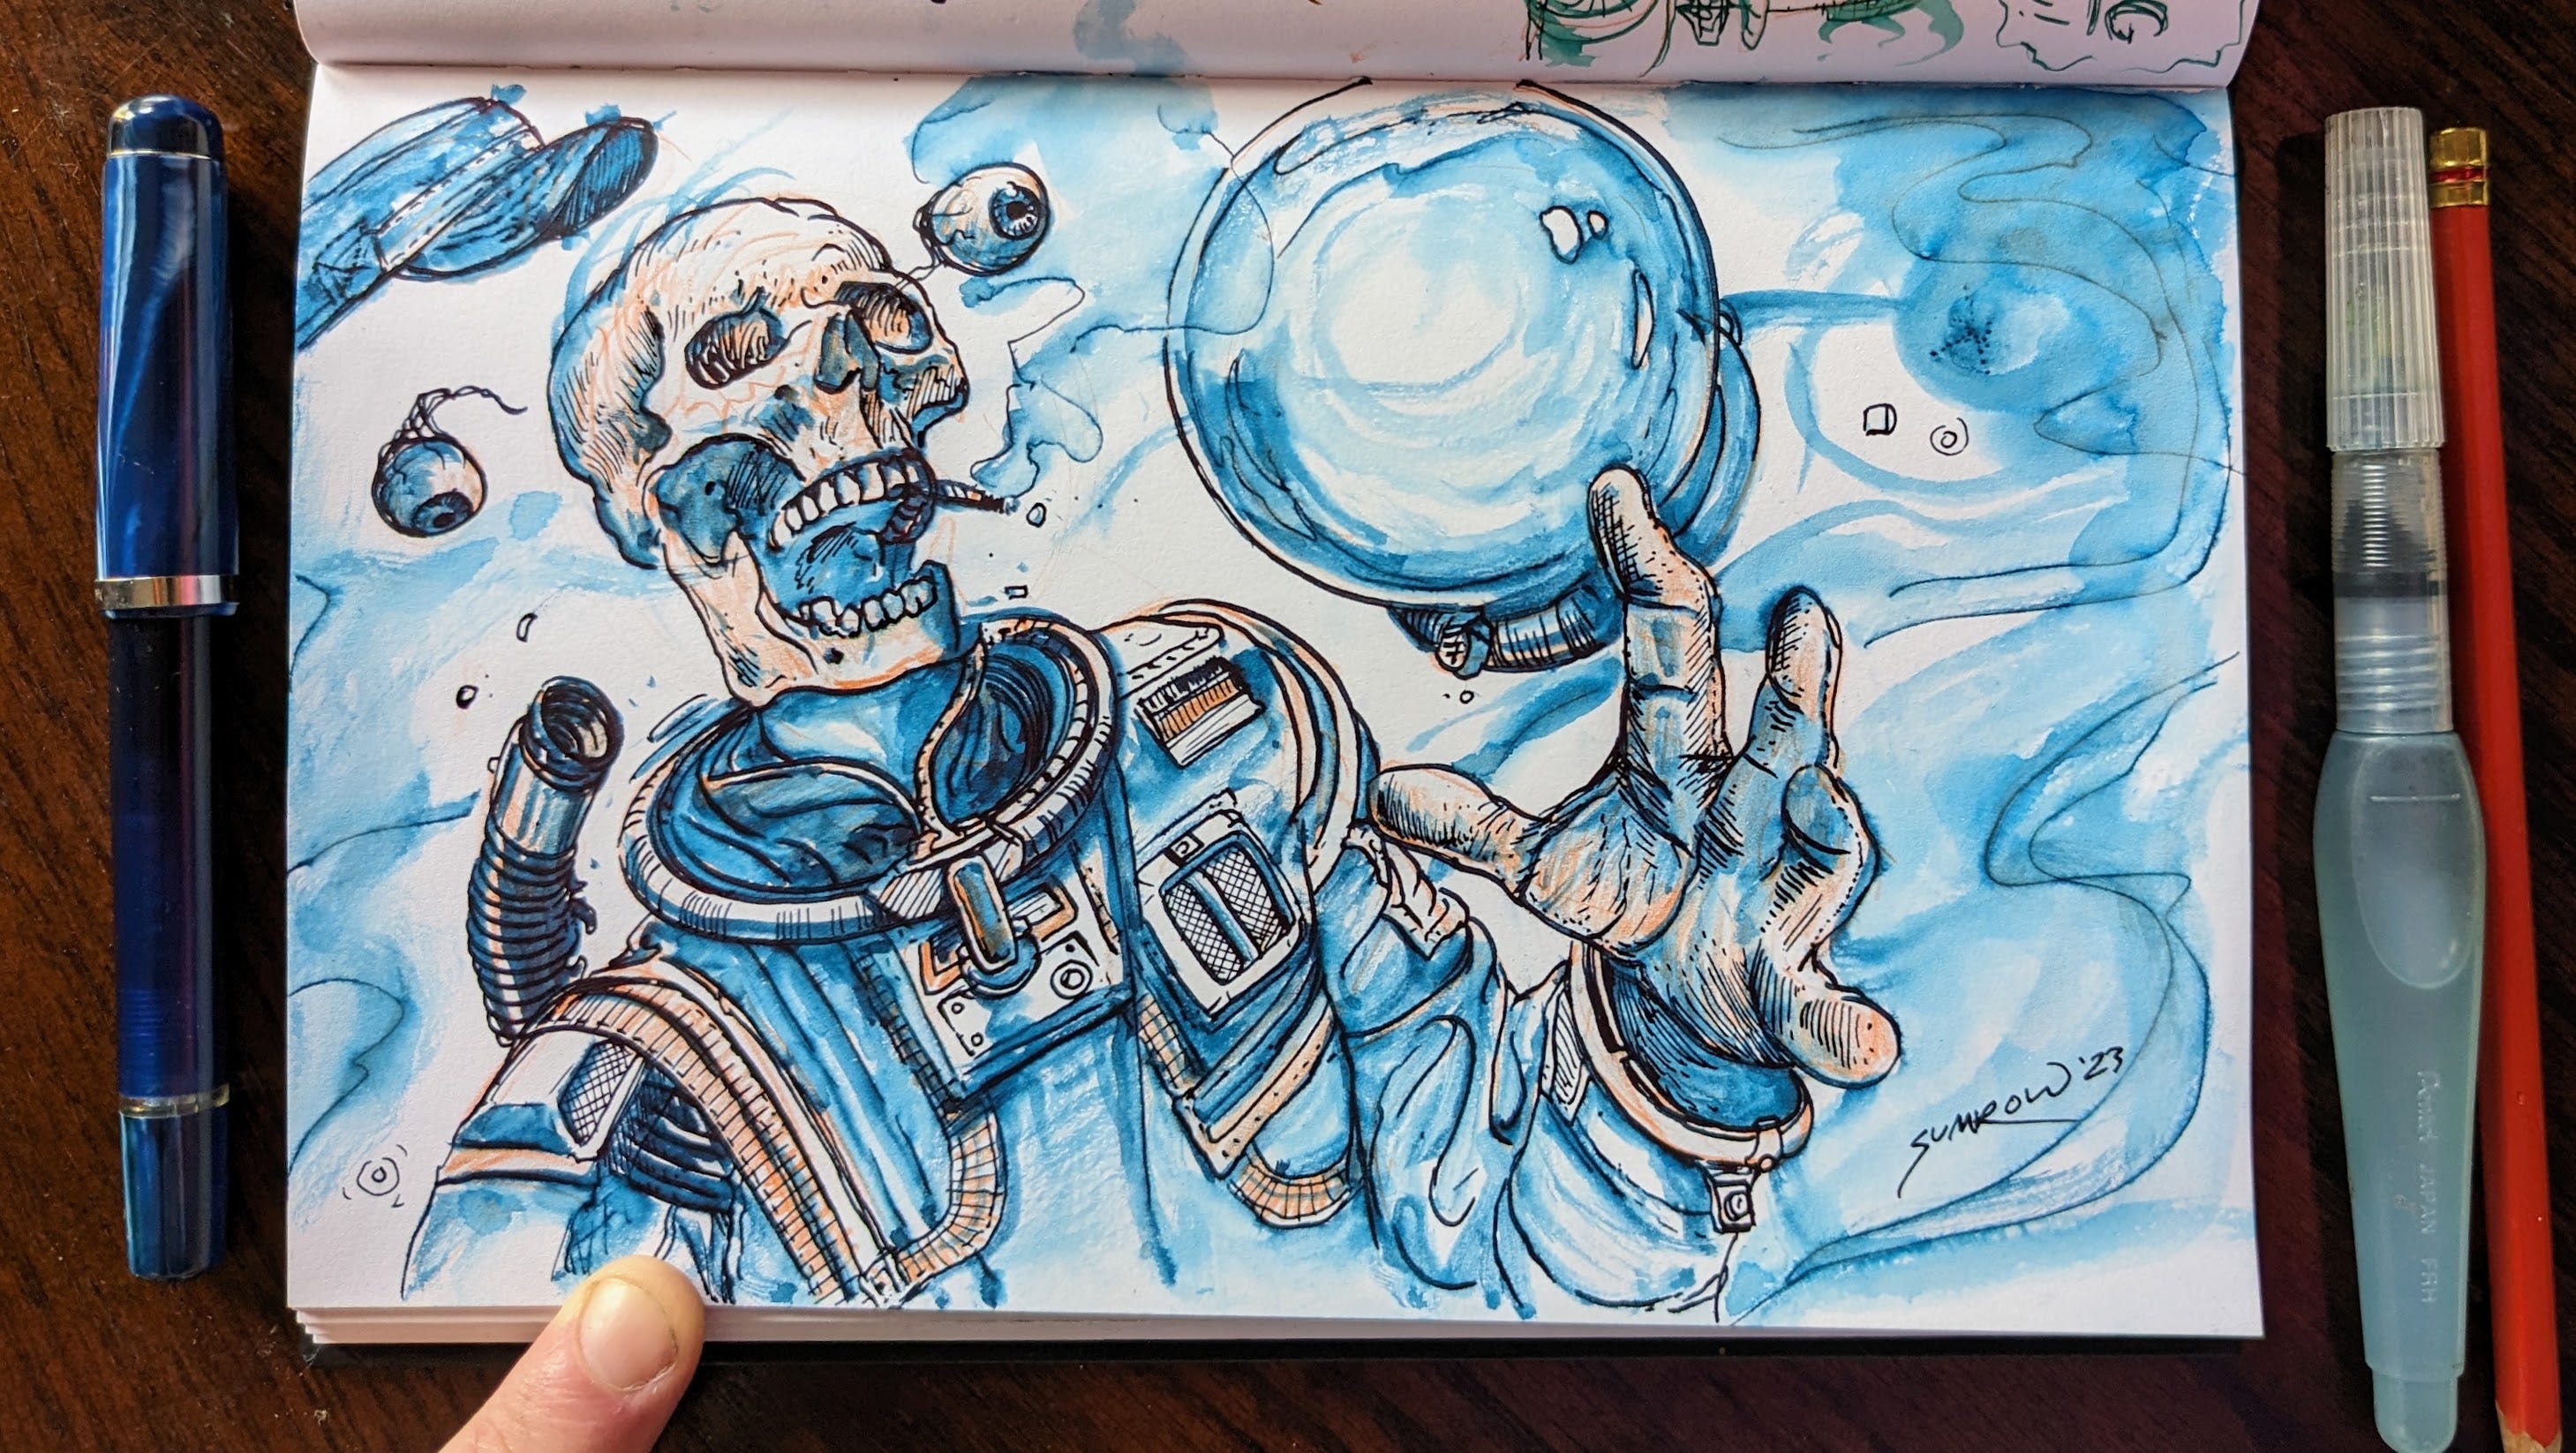
Sketchbook first: This piece all started by an itch to do a classic dead spaceman illustration.
2. Reference


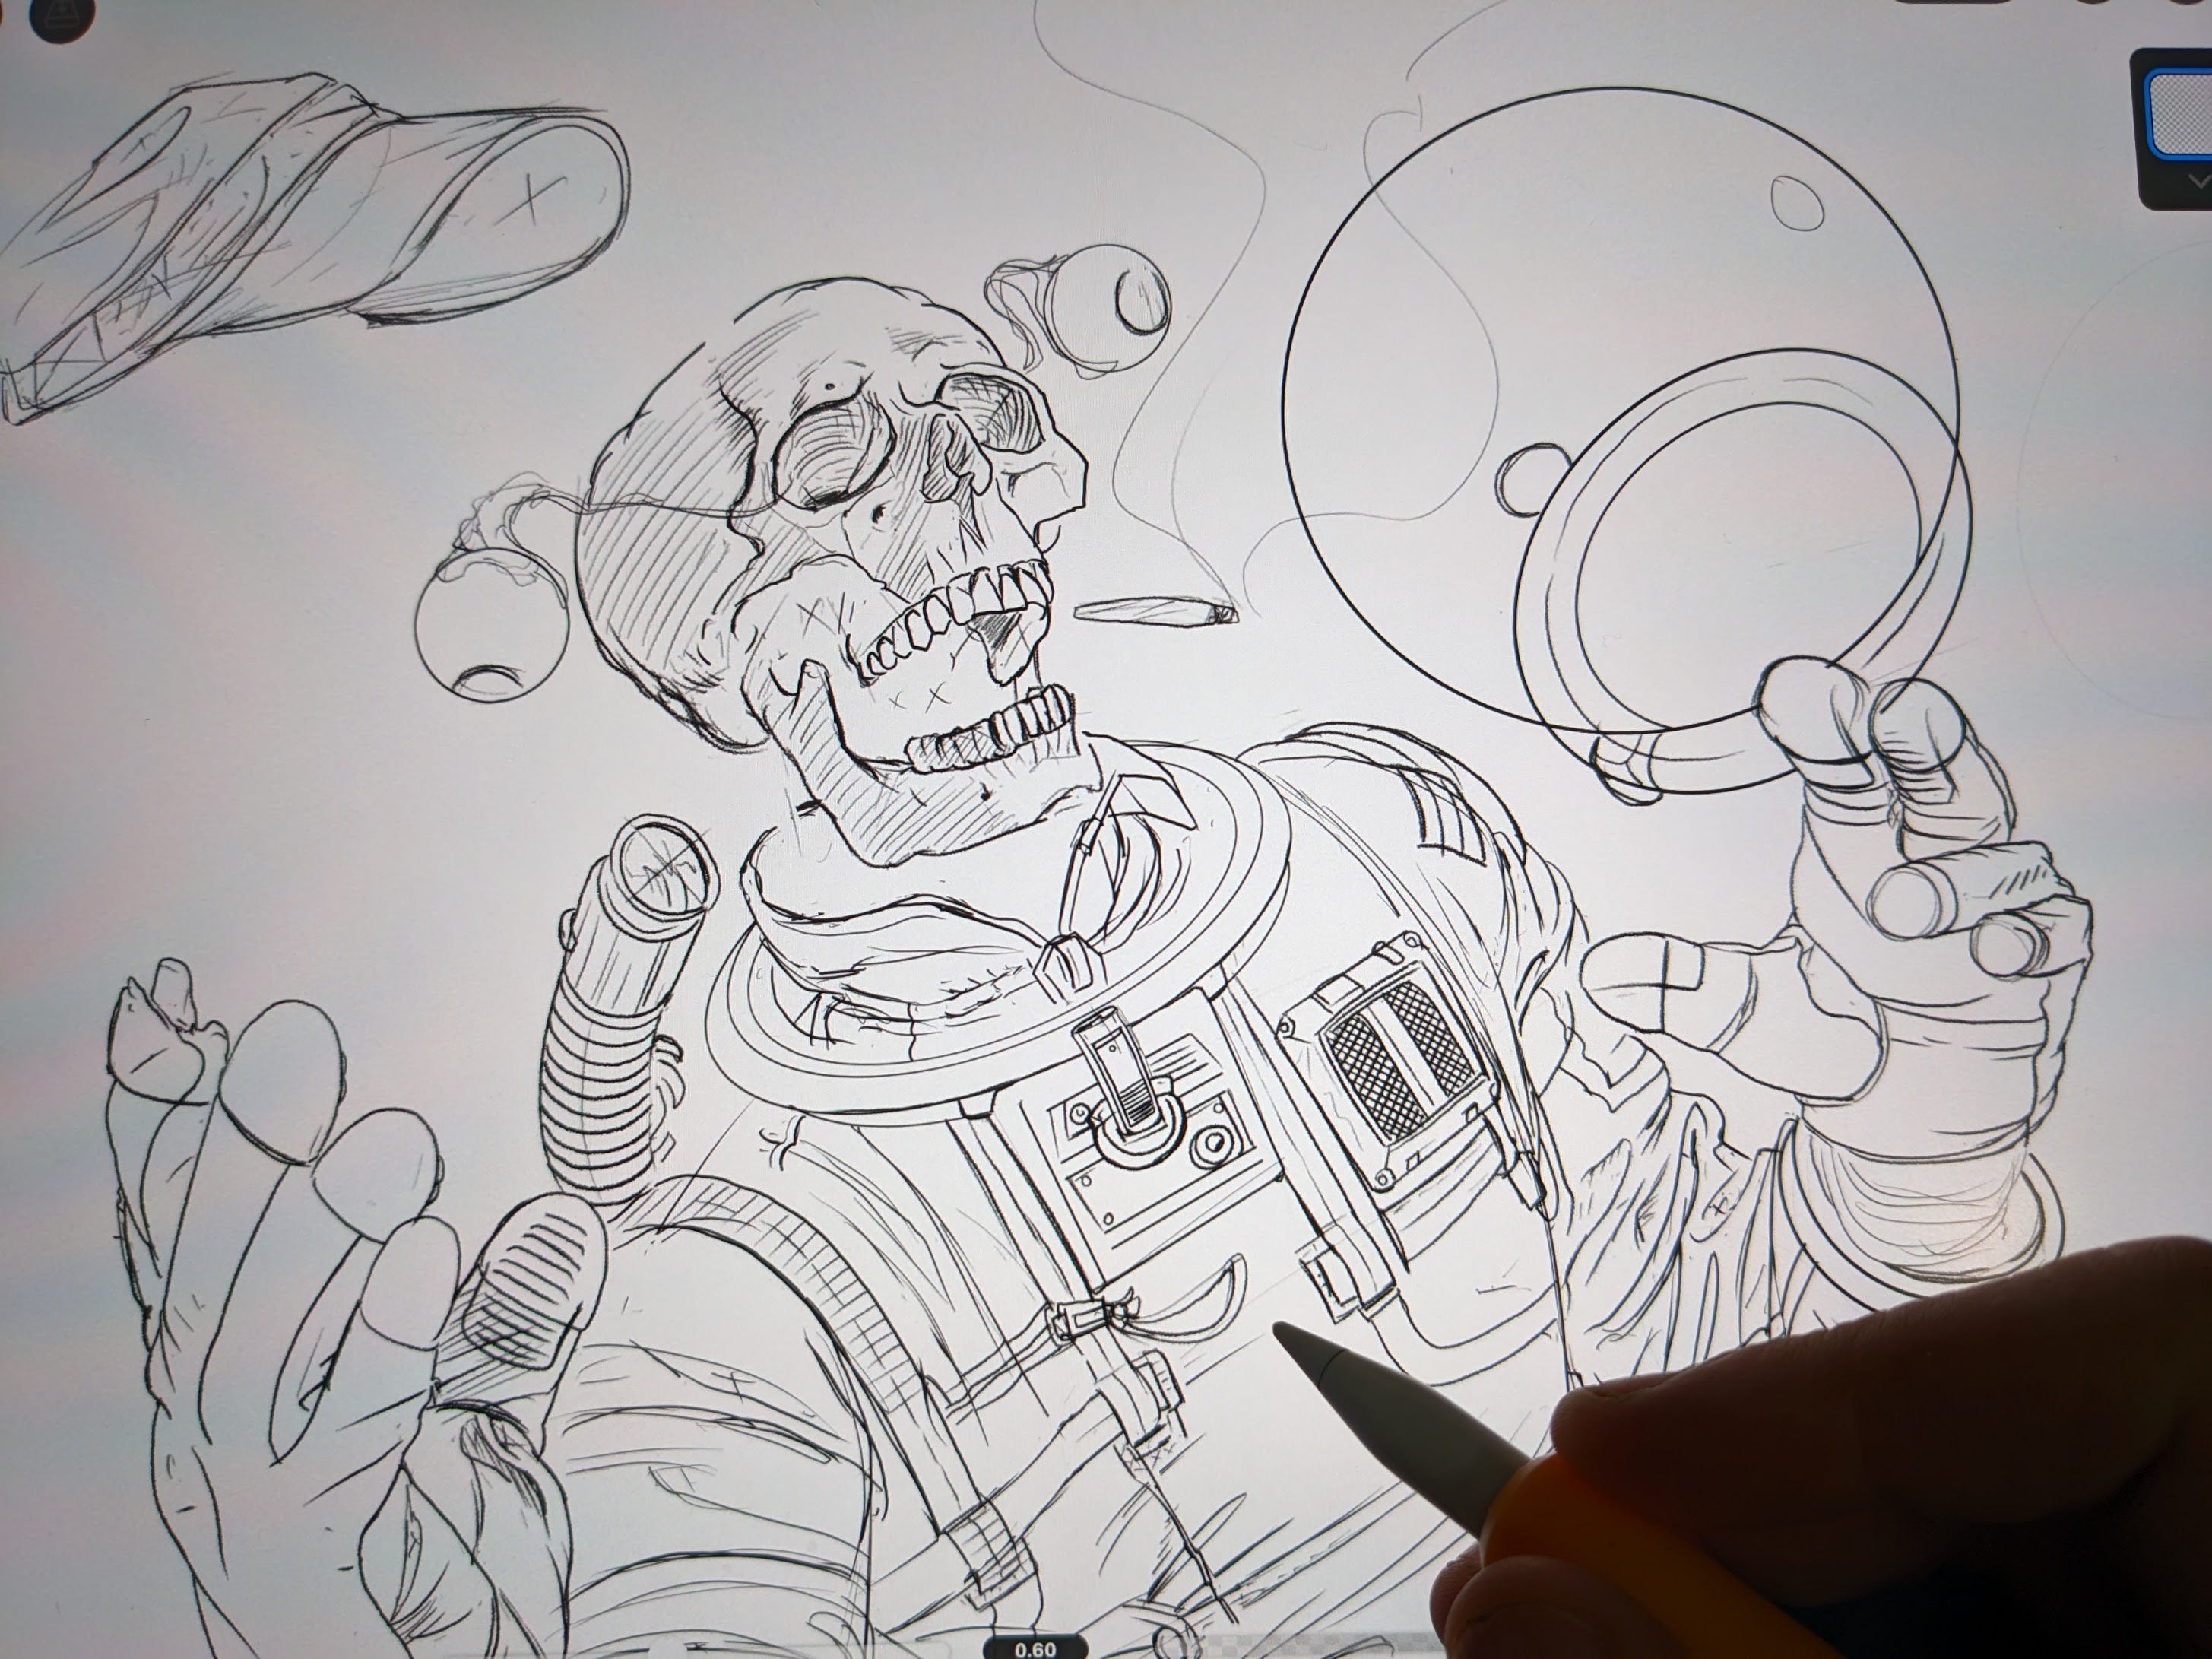
Final Sketch: Trusty iPad with Clip Studio Paint activate! *ZZZzzzaaapPP!!* Yay! Digital has many advantages over paper and pencil when it comes to layout and final sketch. The ability to scale and work out all the elements into a final image is easier digitally. Above we have the final digital plan ready to be transferred for final painting.
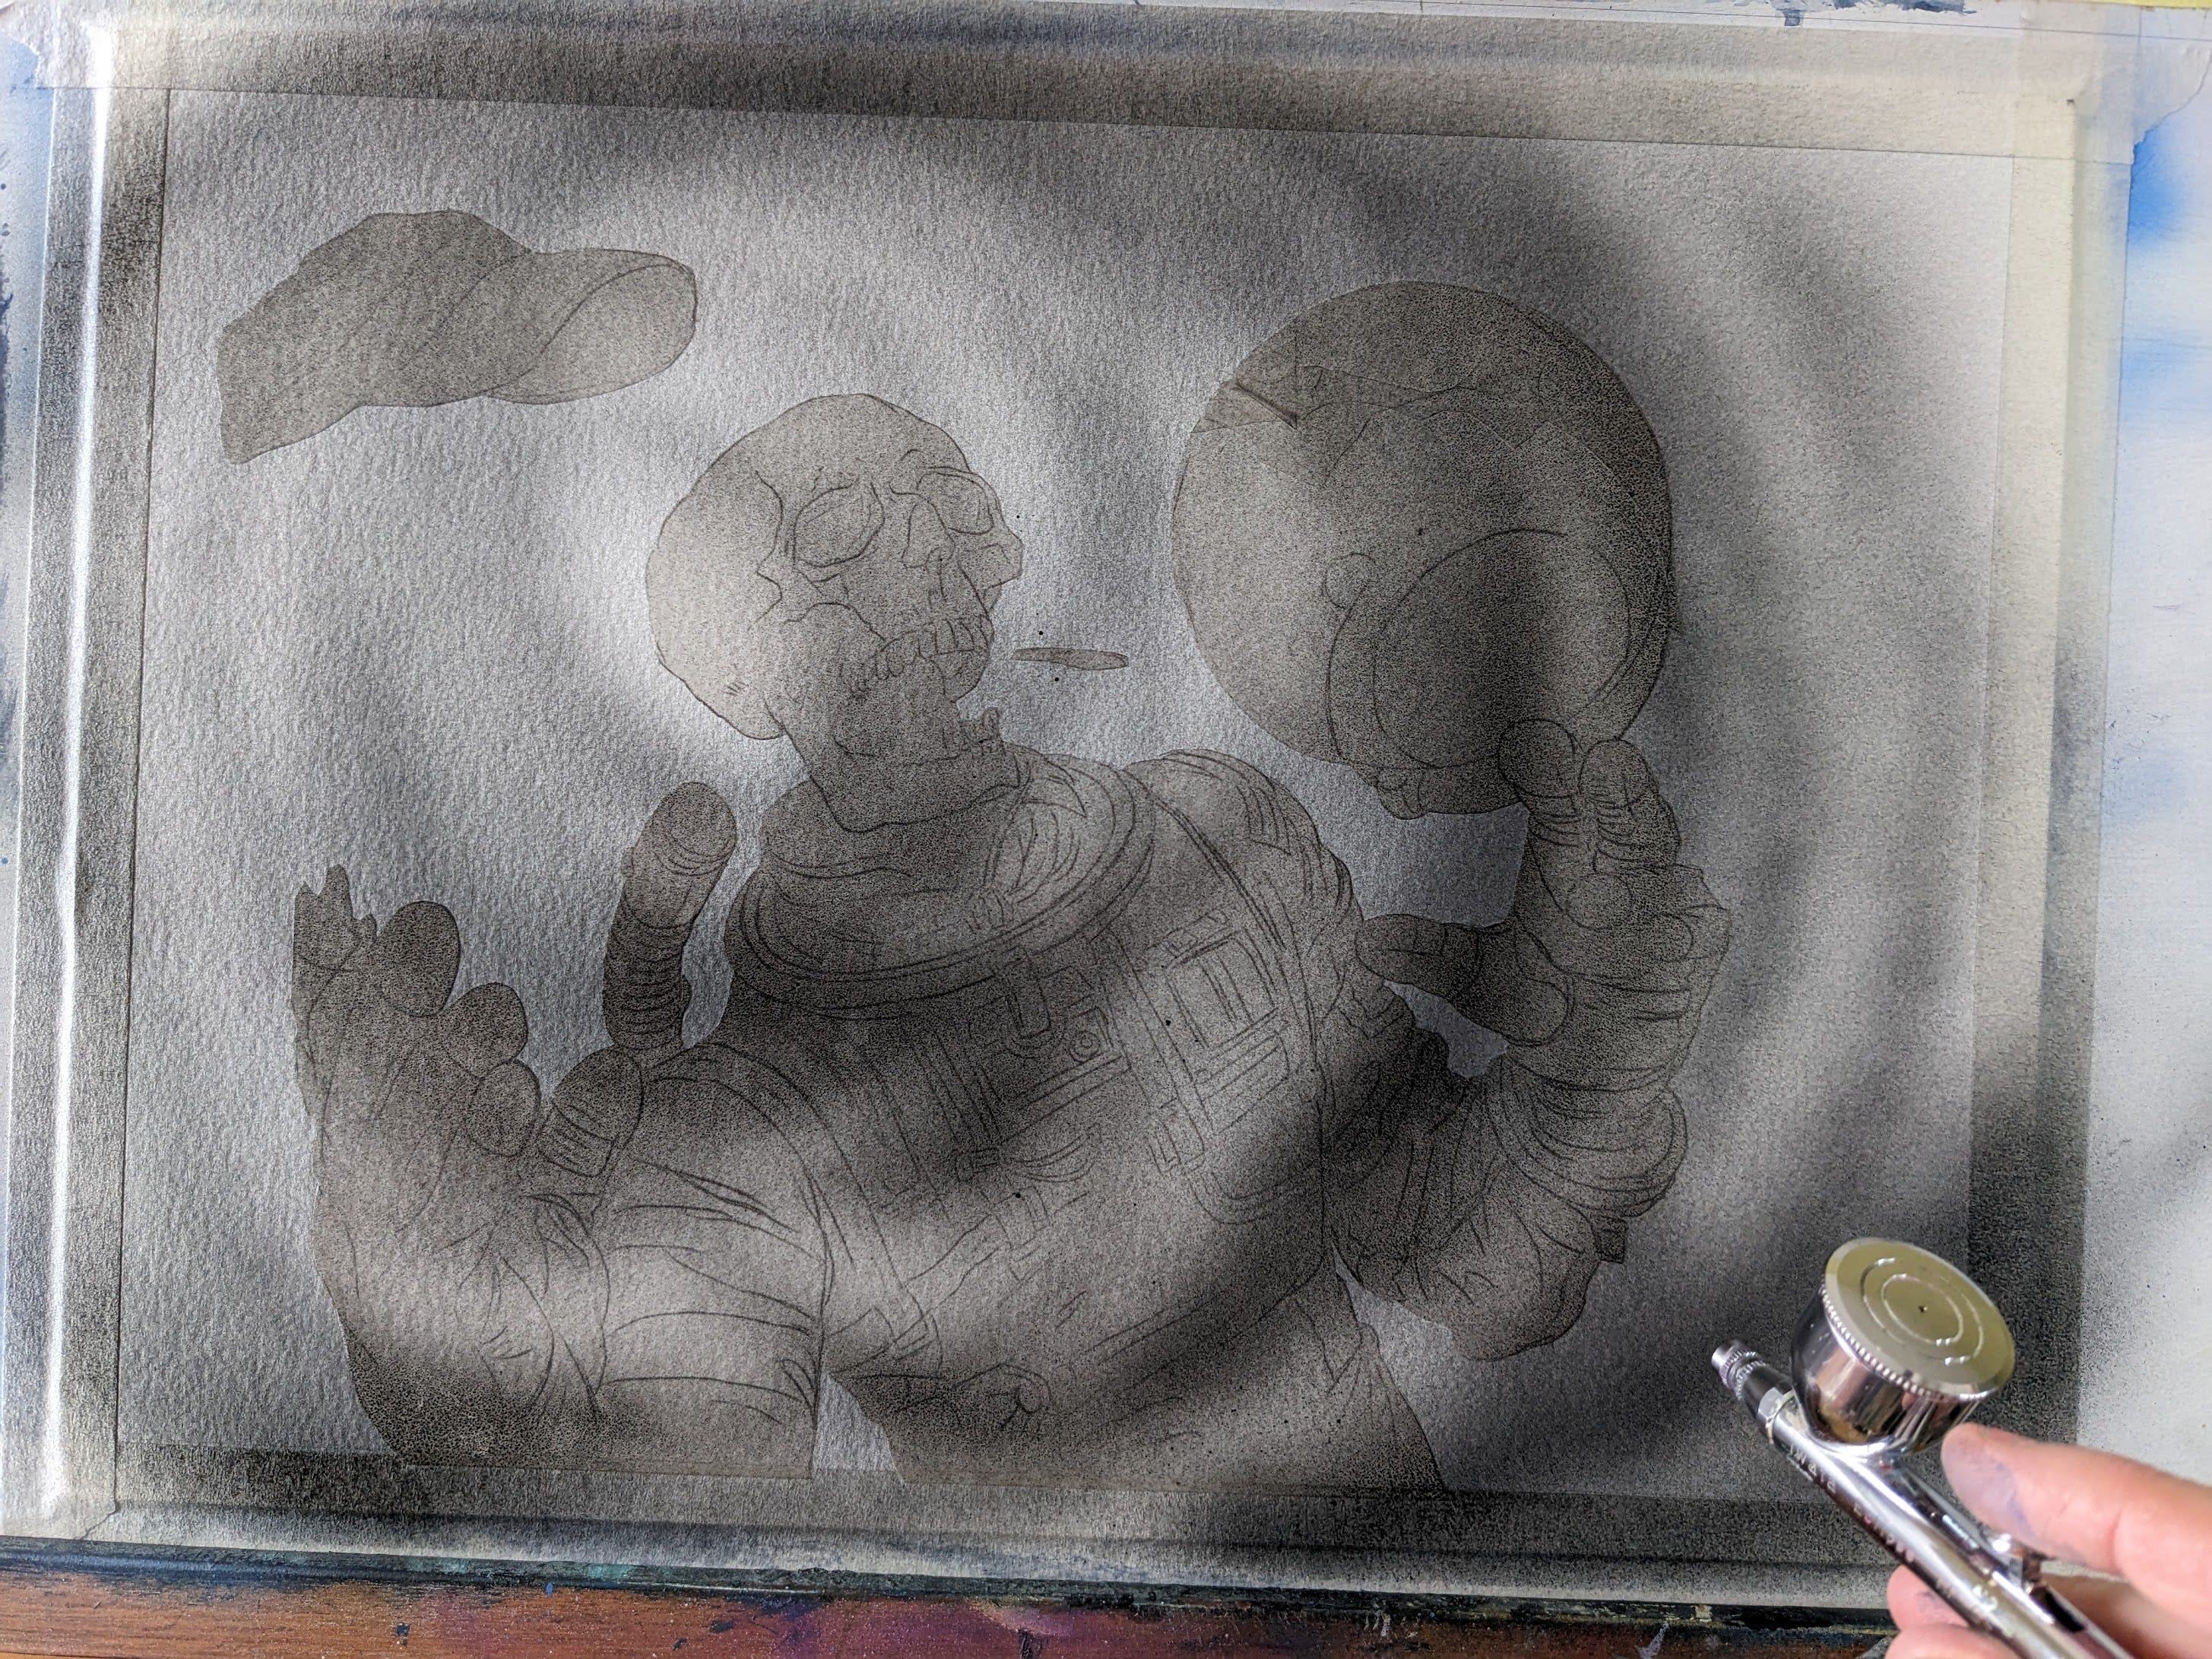
3: Transfer & Masking
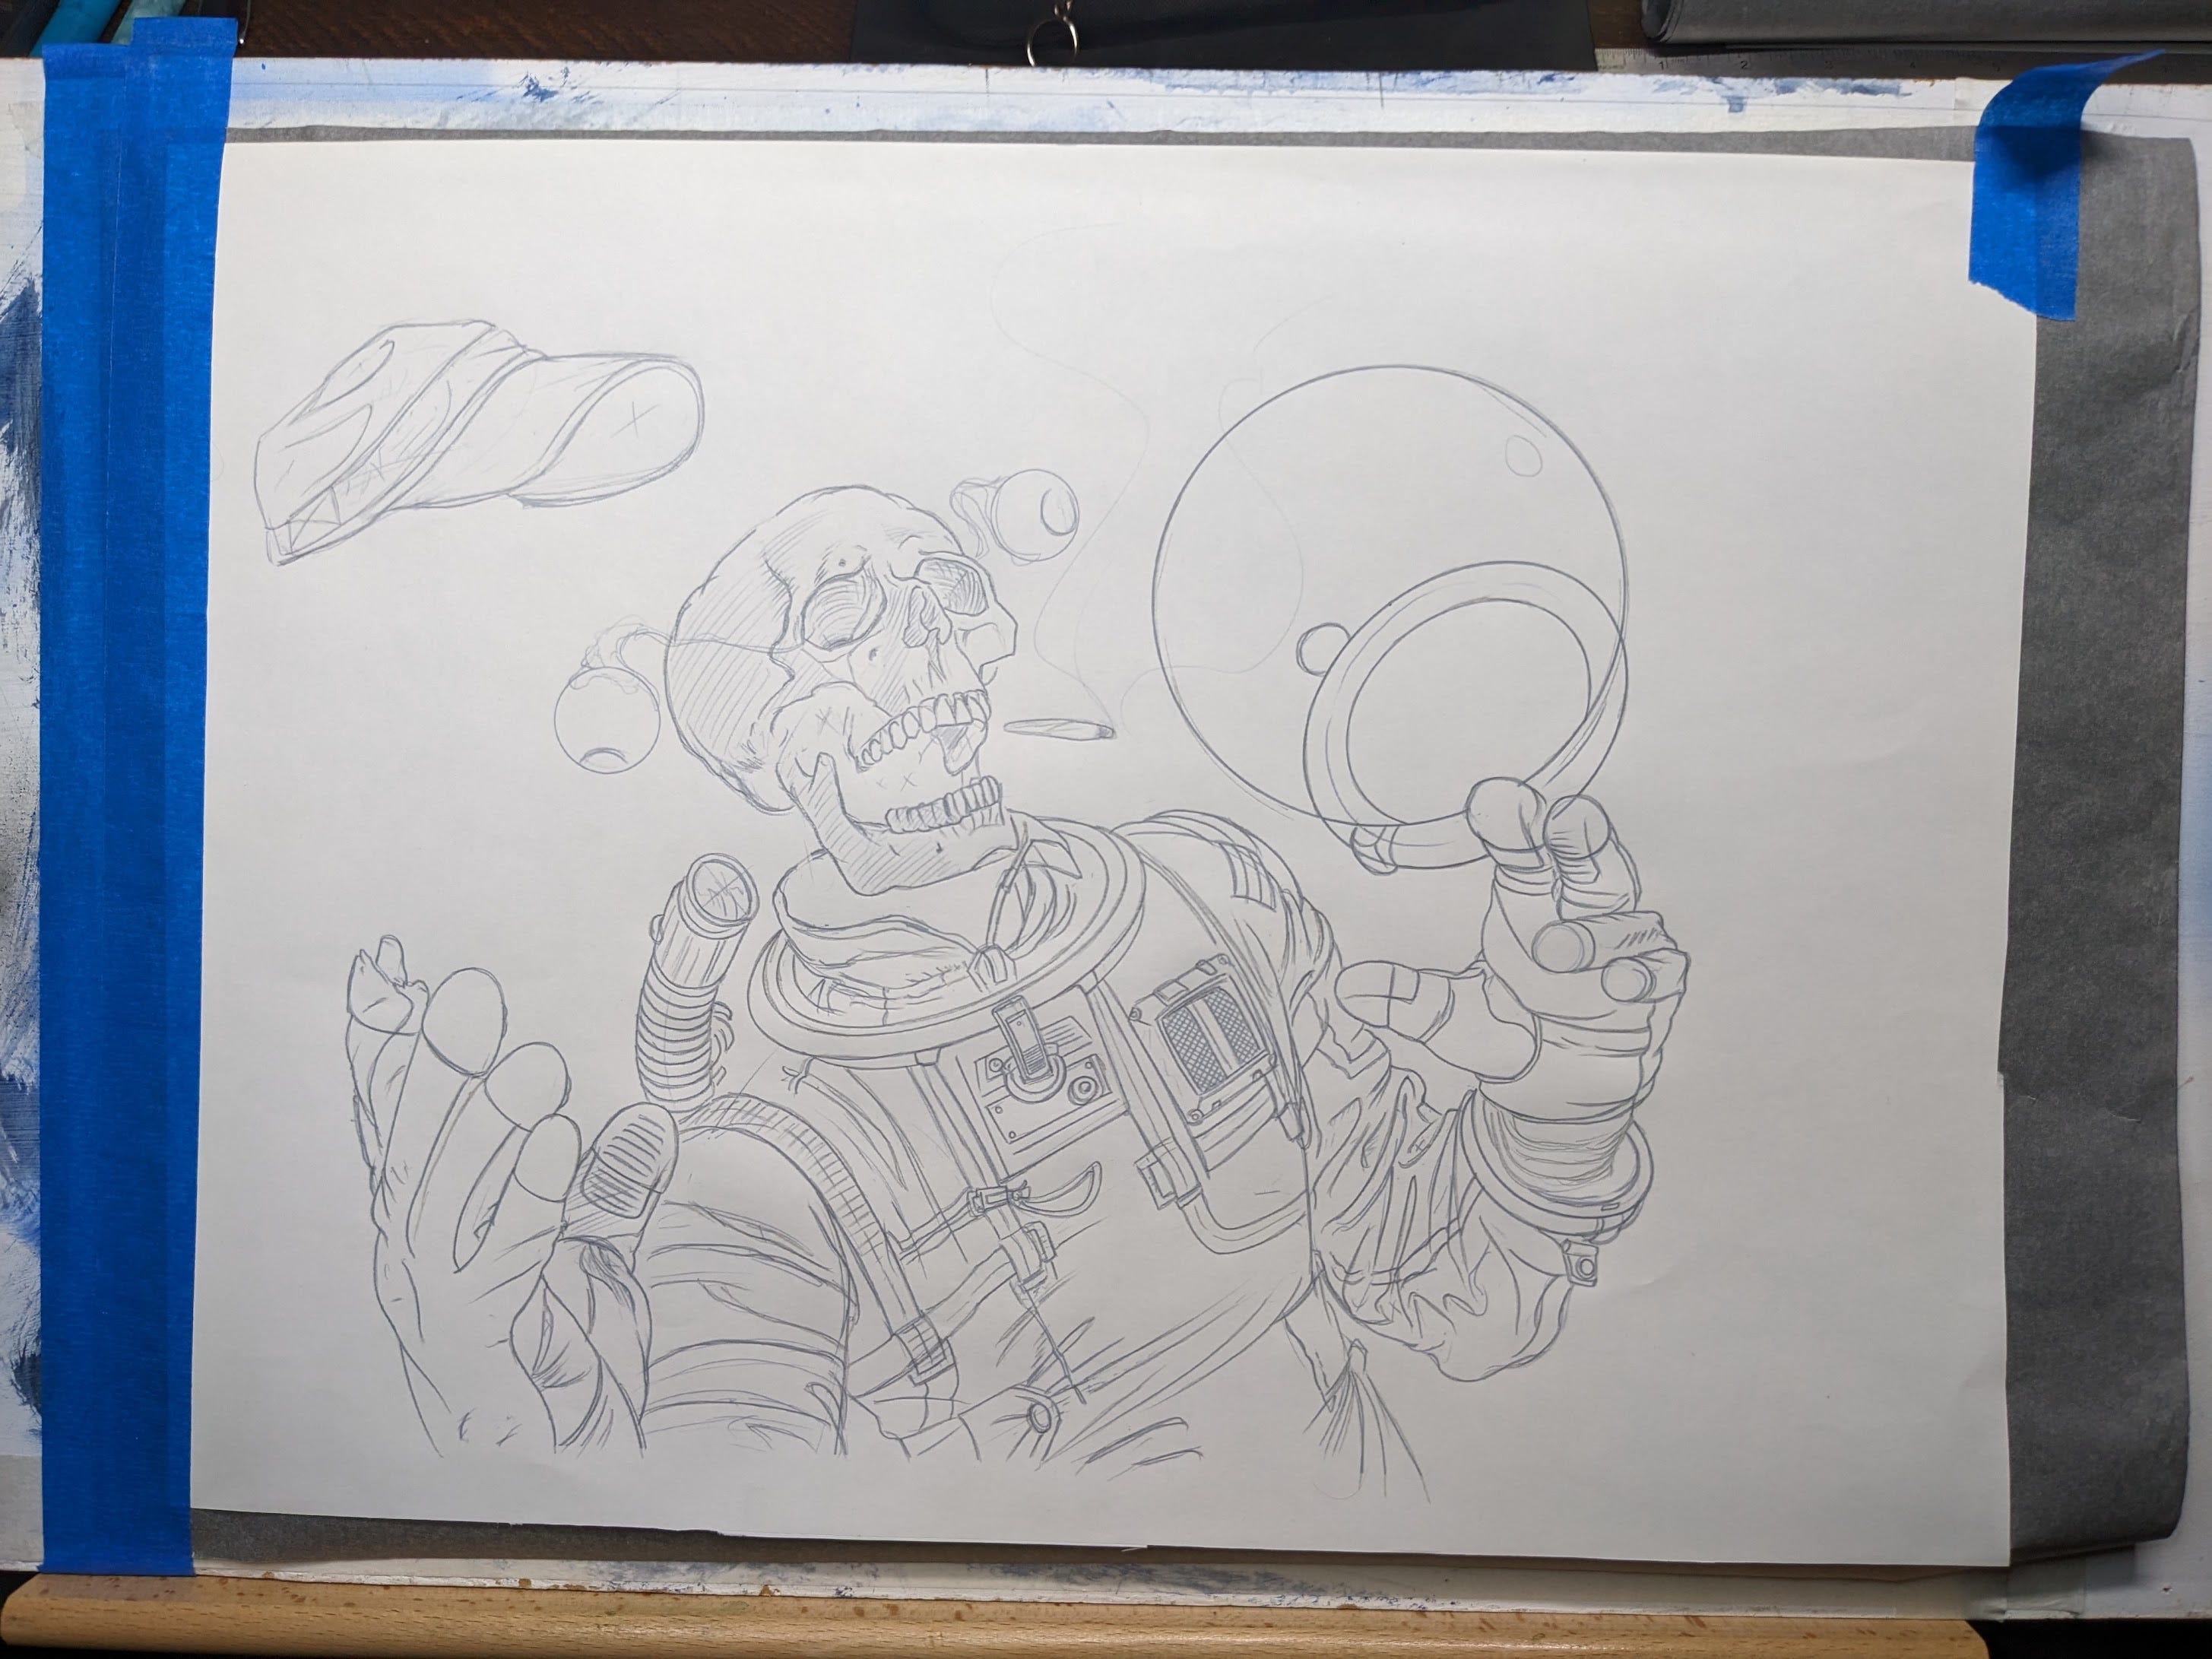
Transfer: To get the finished sketch onto watercolor paper I use a Canon Pro 100 printer and print the digital sketch onto 13” x 19” watercolor paper.
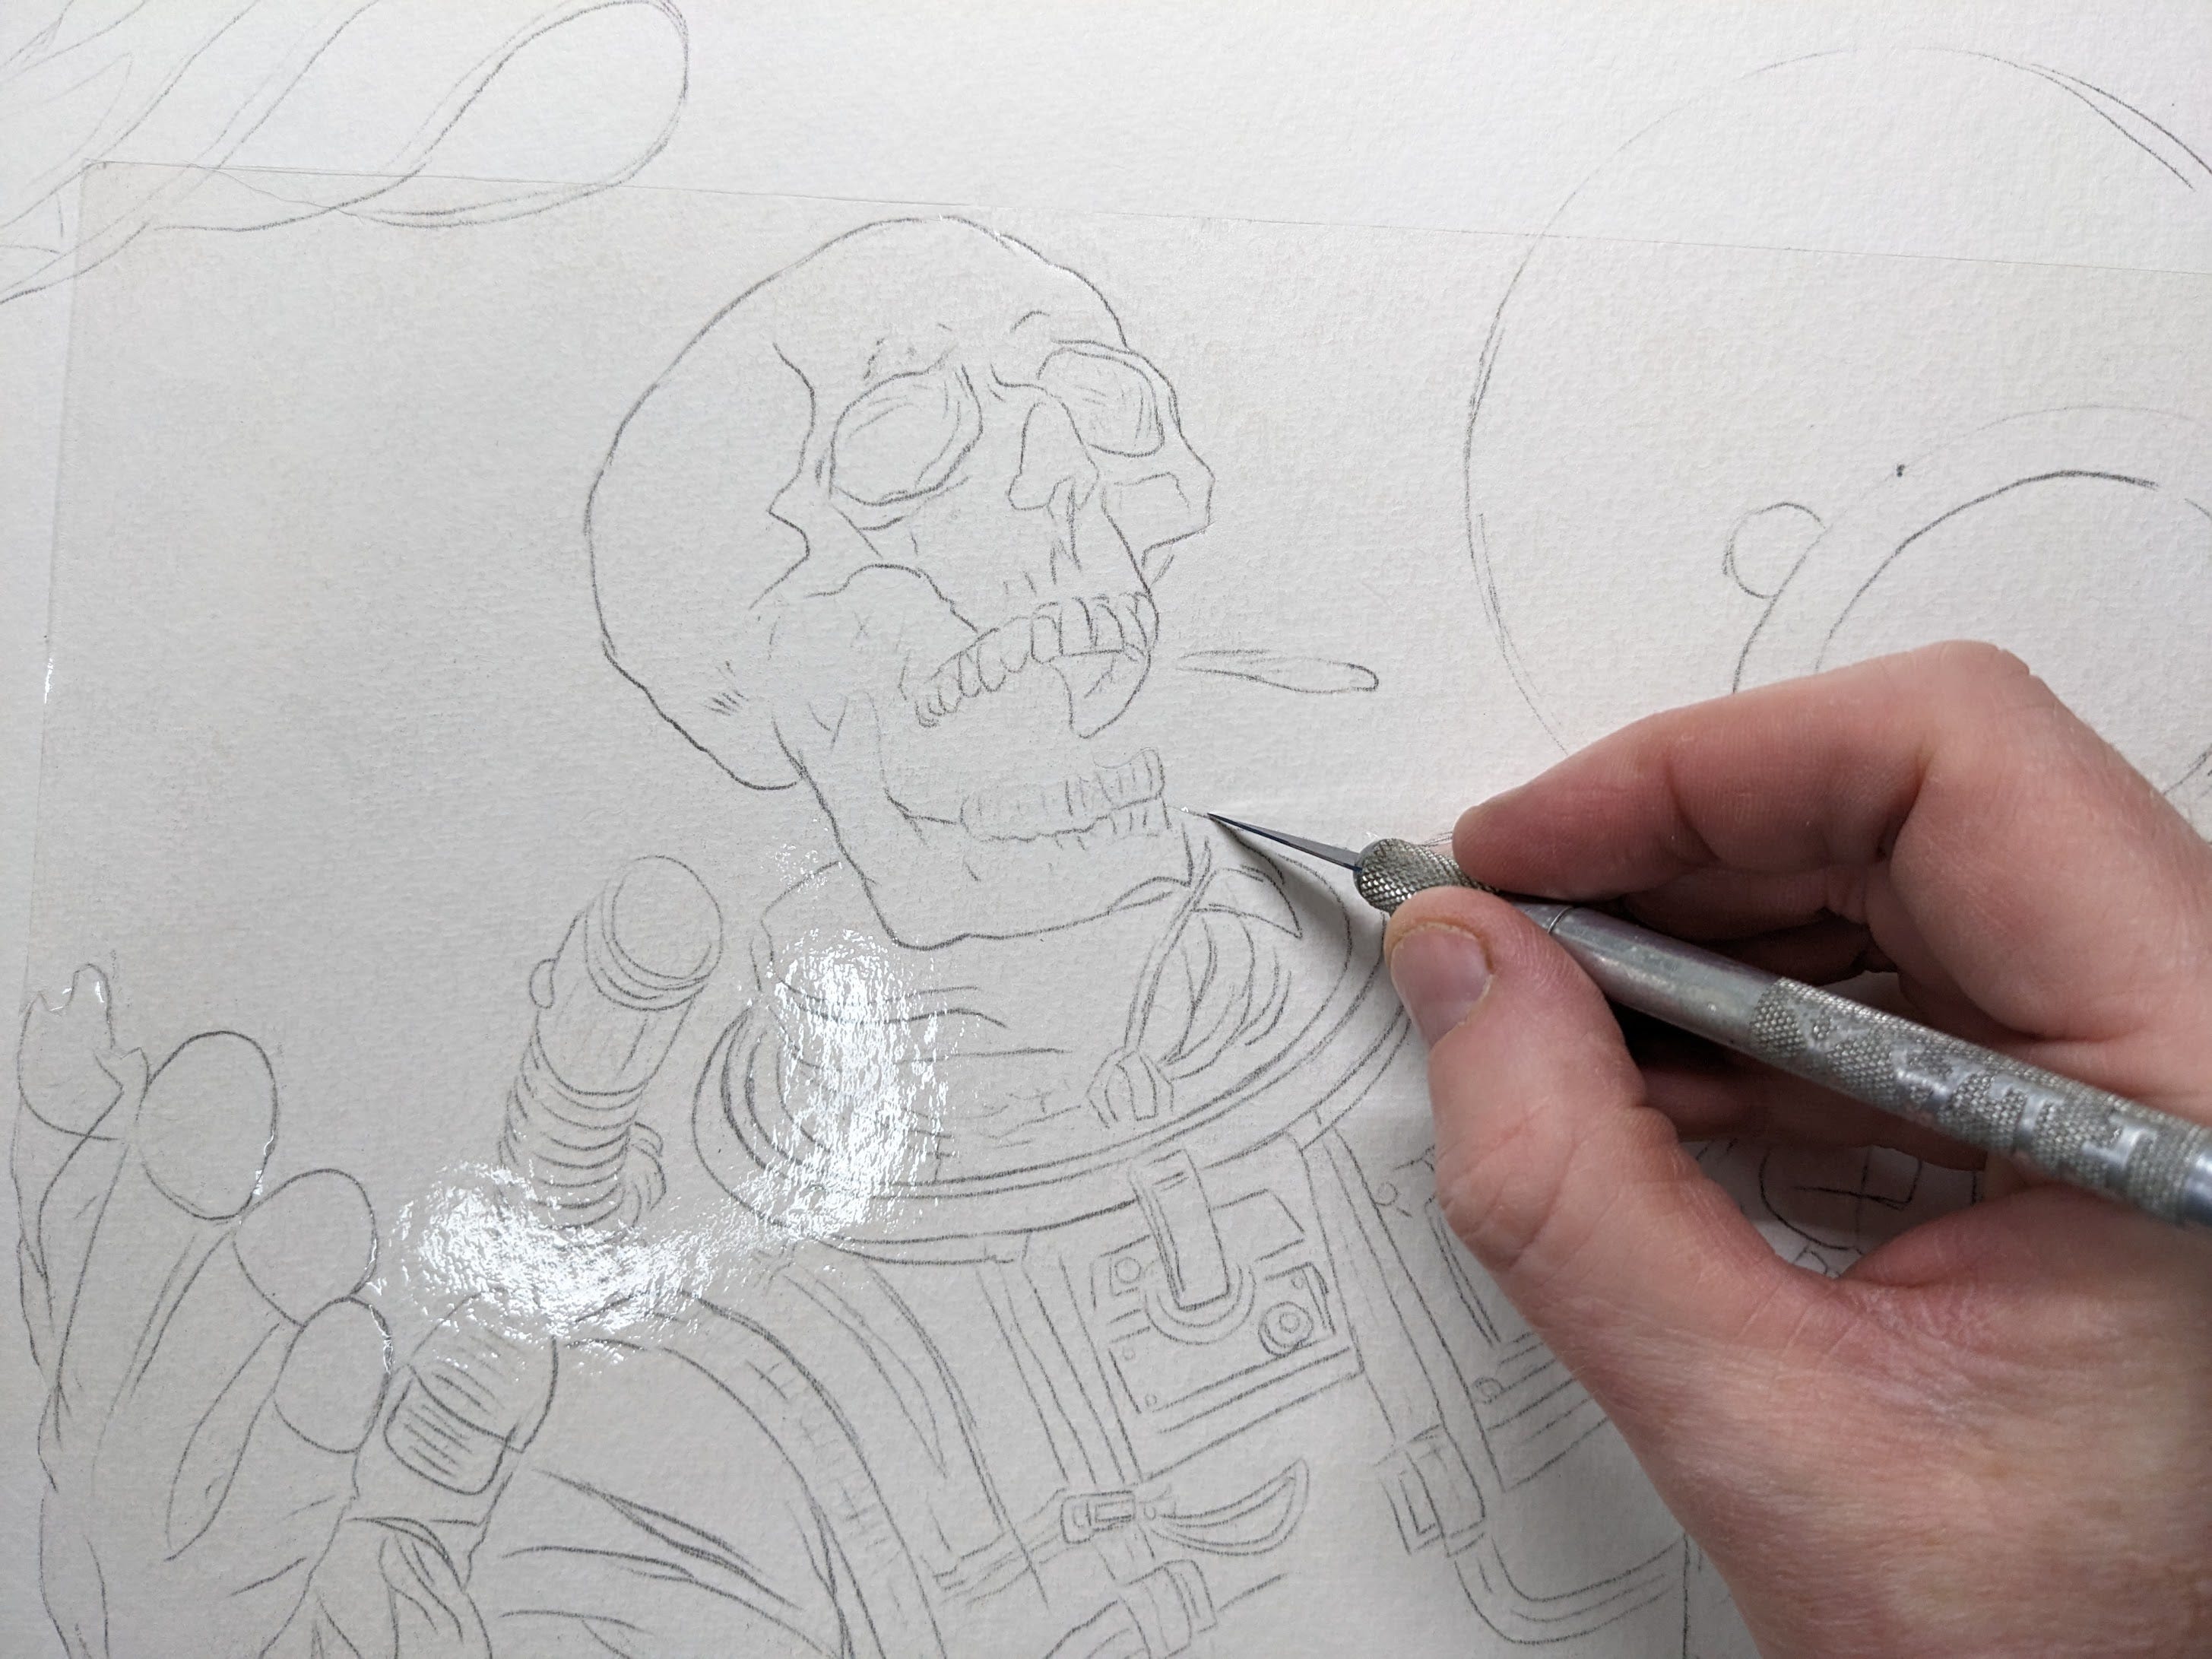
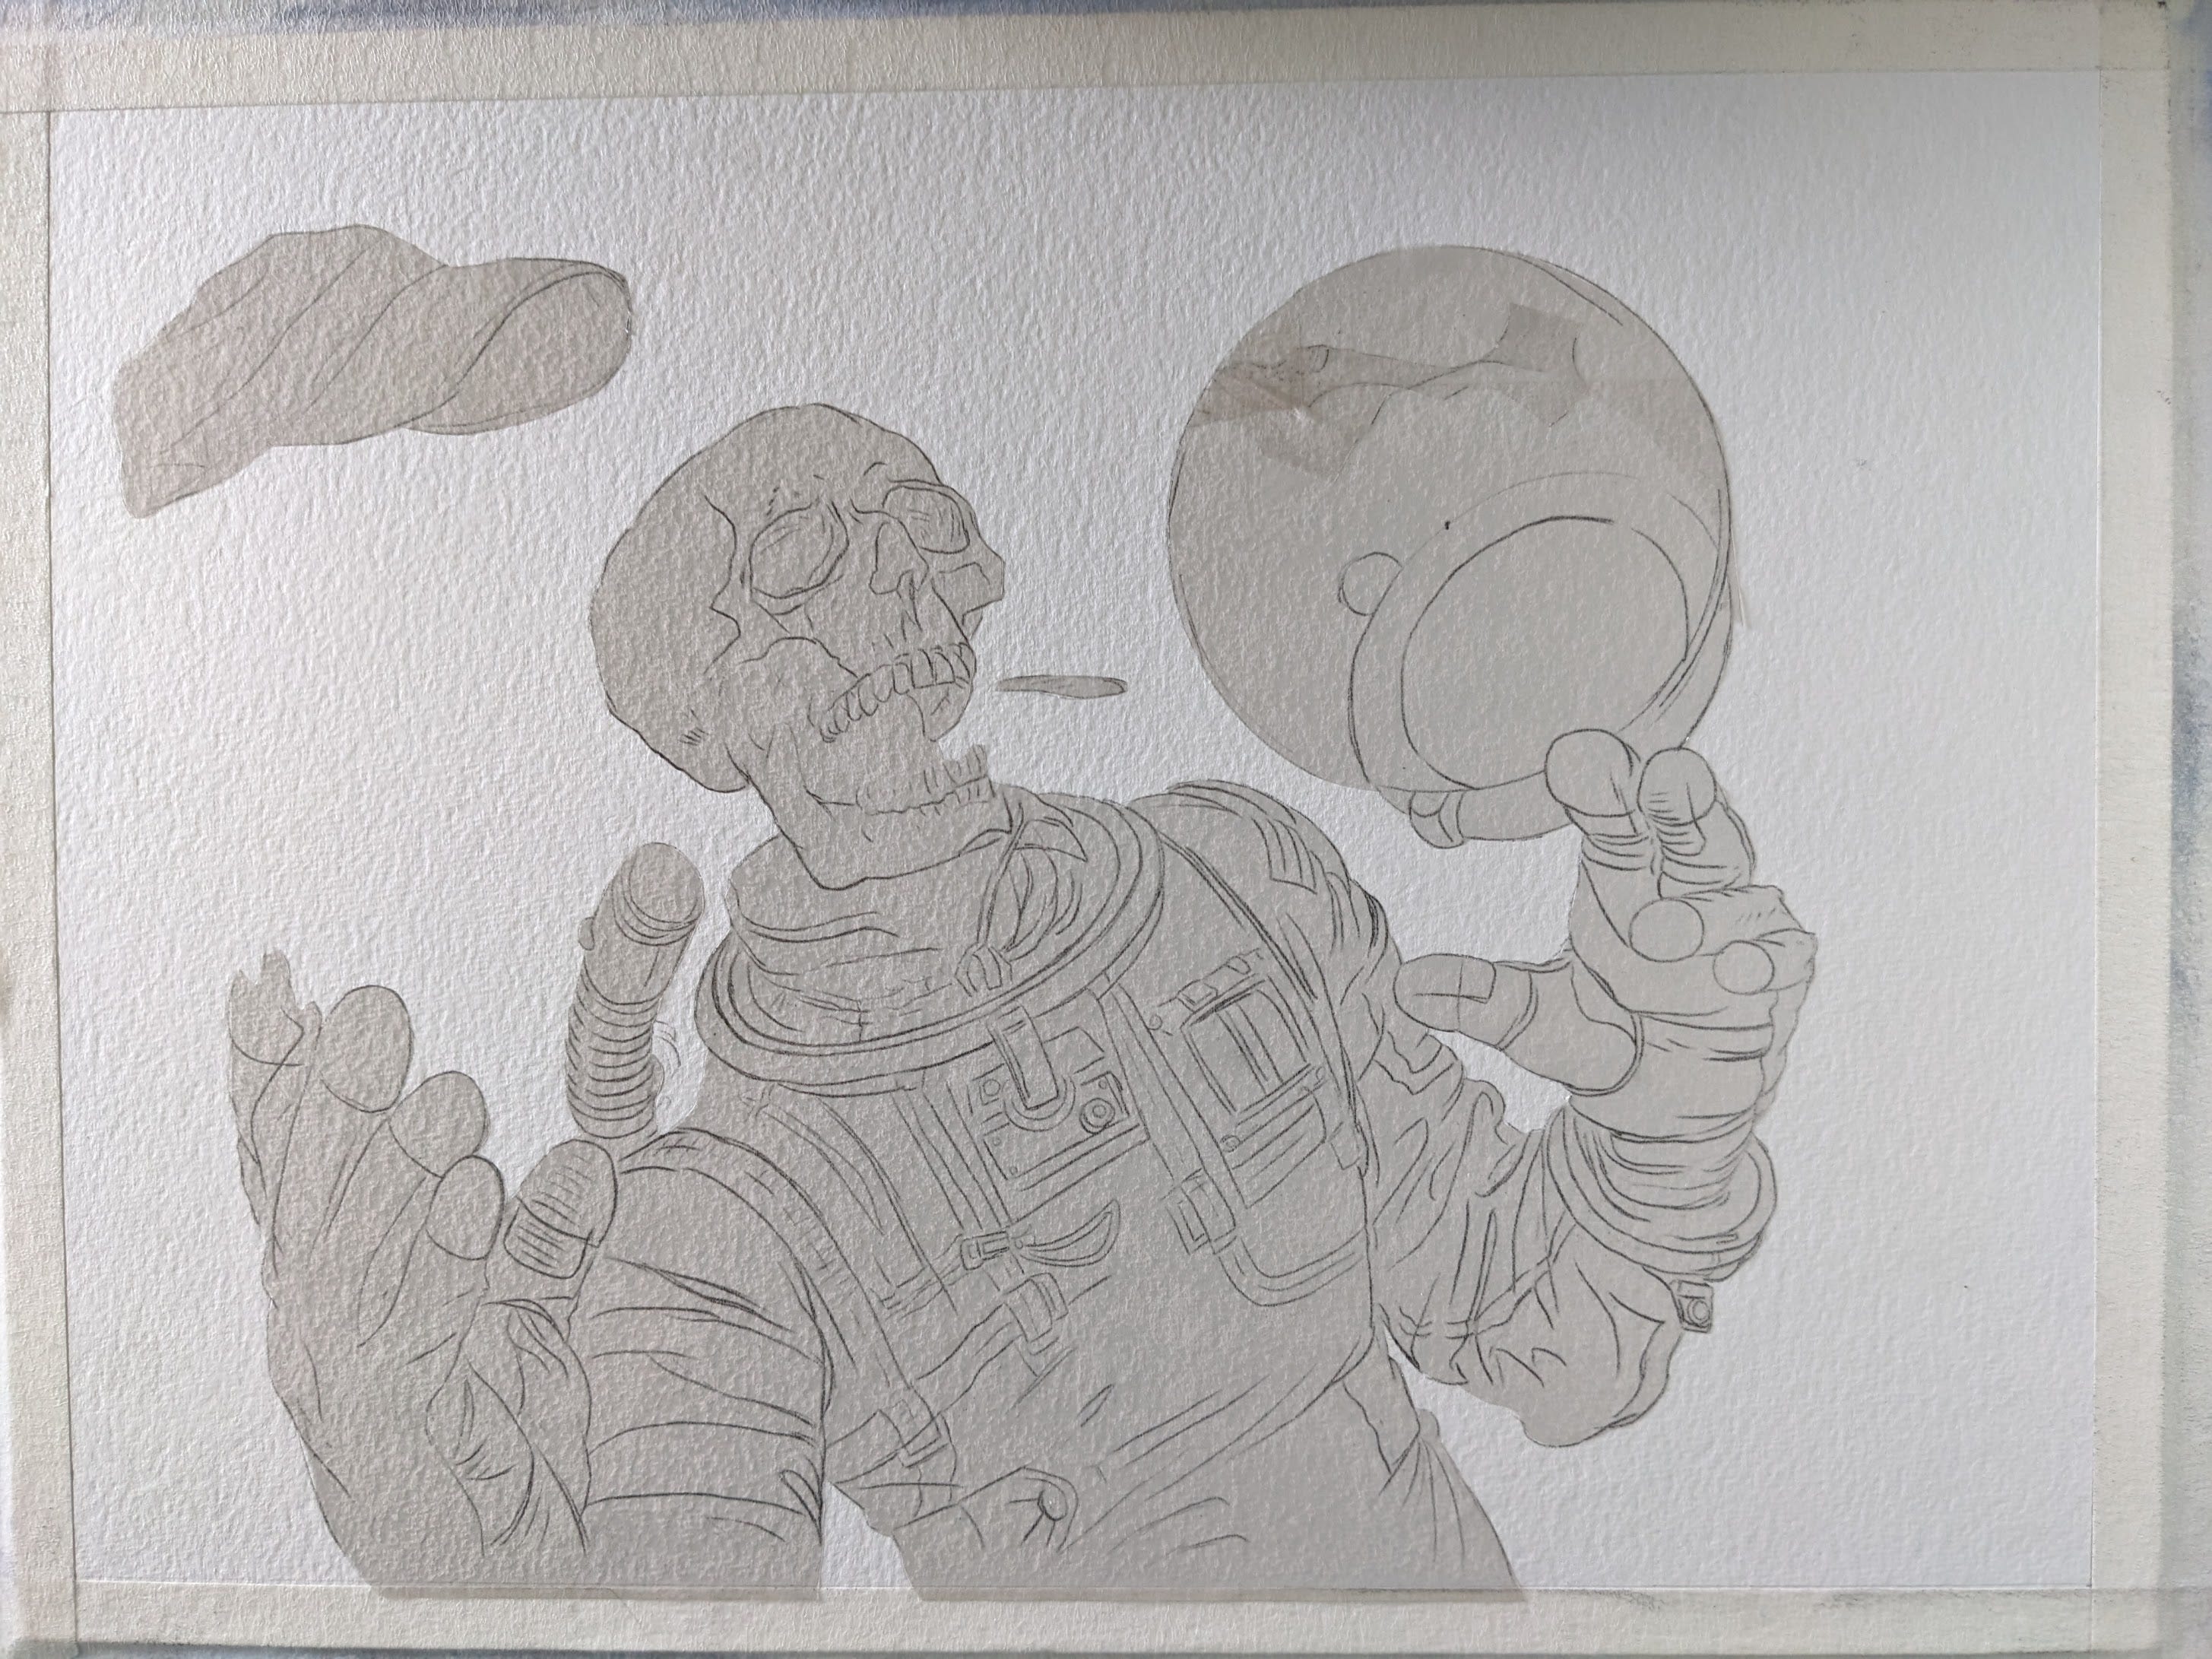
Masking: So I masked all the subject elements in low tack frisket film. It entails laying an entire sheet of film over everything, and cutting out the spaces between each figure. This is done slowly with an x-acto knife, and is quite tedious. In the end was worth it.
Painters tape is applied around the edges as well to keep them clean.
4: Palette Choice & Background
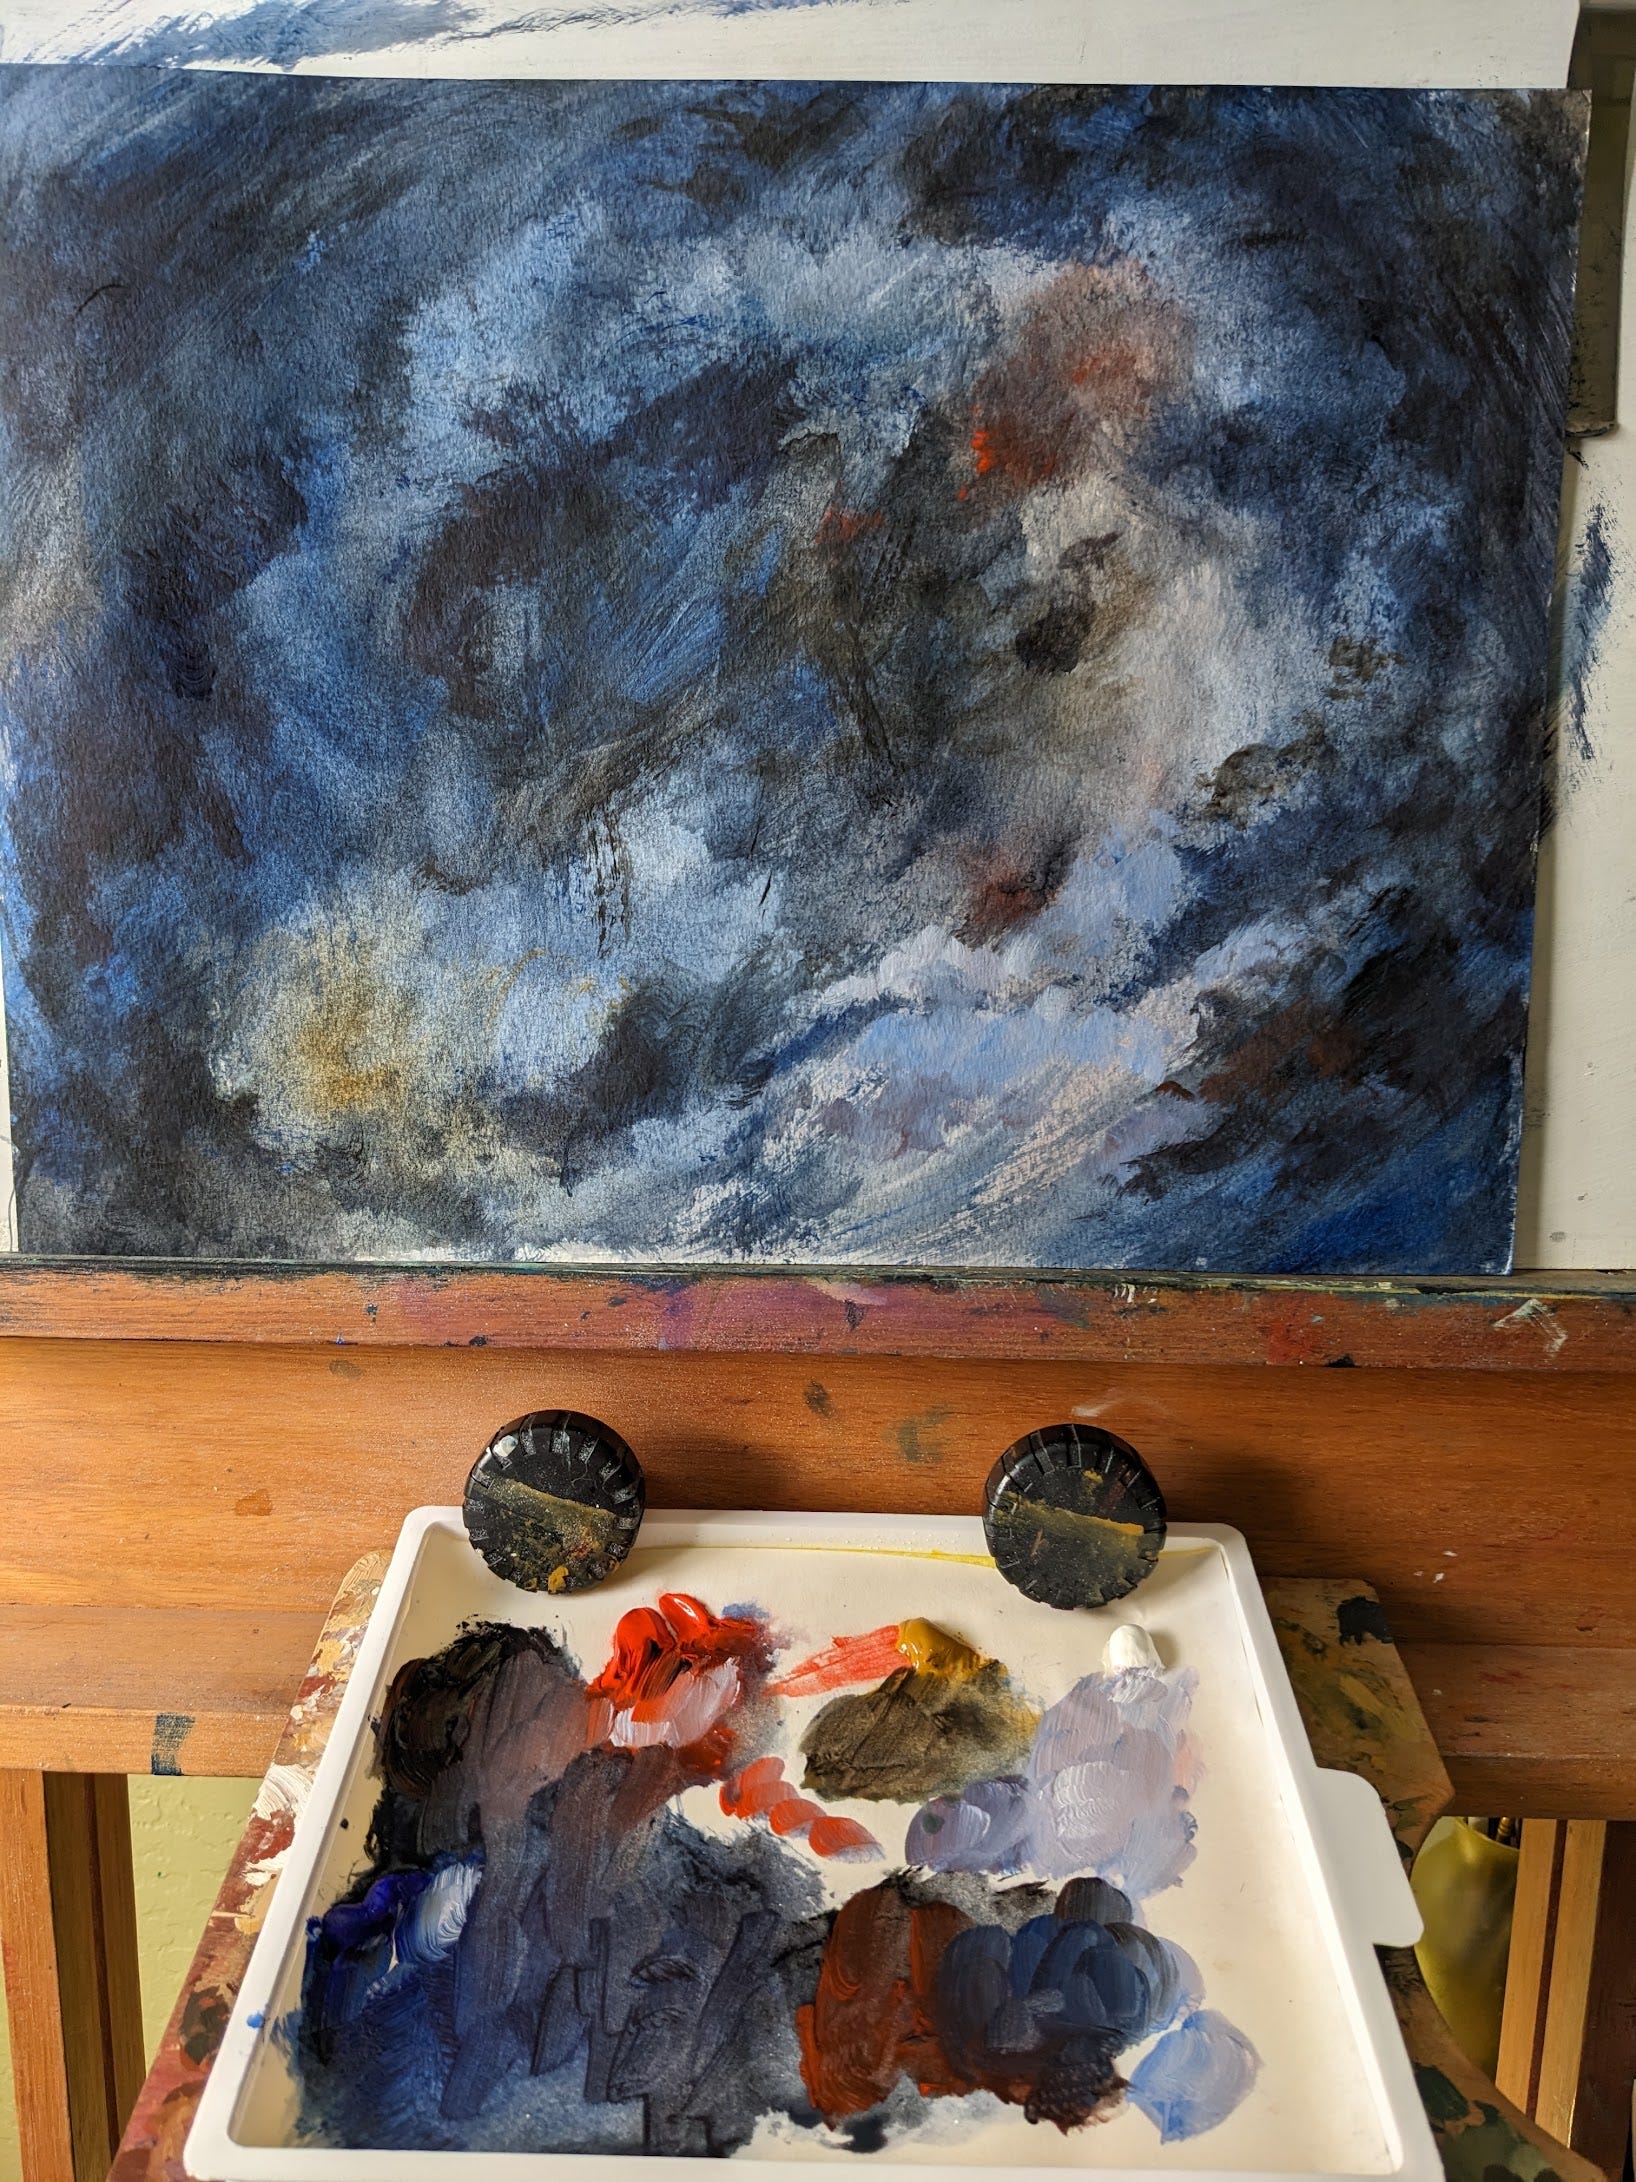
Went for a simple Zorn palette here, plus Ultramarine Blue. I didn’t want to have to think too hard on this one. It’s been a while since I painted in acrylics and wanted to take it easy on myself. Knowing a red/orange suit, ochre skull, and dark space were the biggest features, it just so happens a Zorn palette has that covered. Keep it simple: Ivory Black, Titanium White, Yellow Ochre, and Cadmium Red Light. Done. I added a tube of Ultramarine Blue to get those deep space hues that thinned Ivory black couldn’t provide.
Here is a finished test background with airbrushed water. I am glad I tried this as a test. While this is pretty good as a stand alone background, it is far too busy. Scaling back a bit, I went into the final version with lots learned.
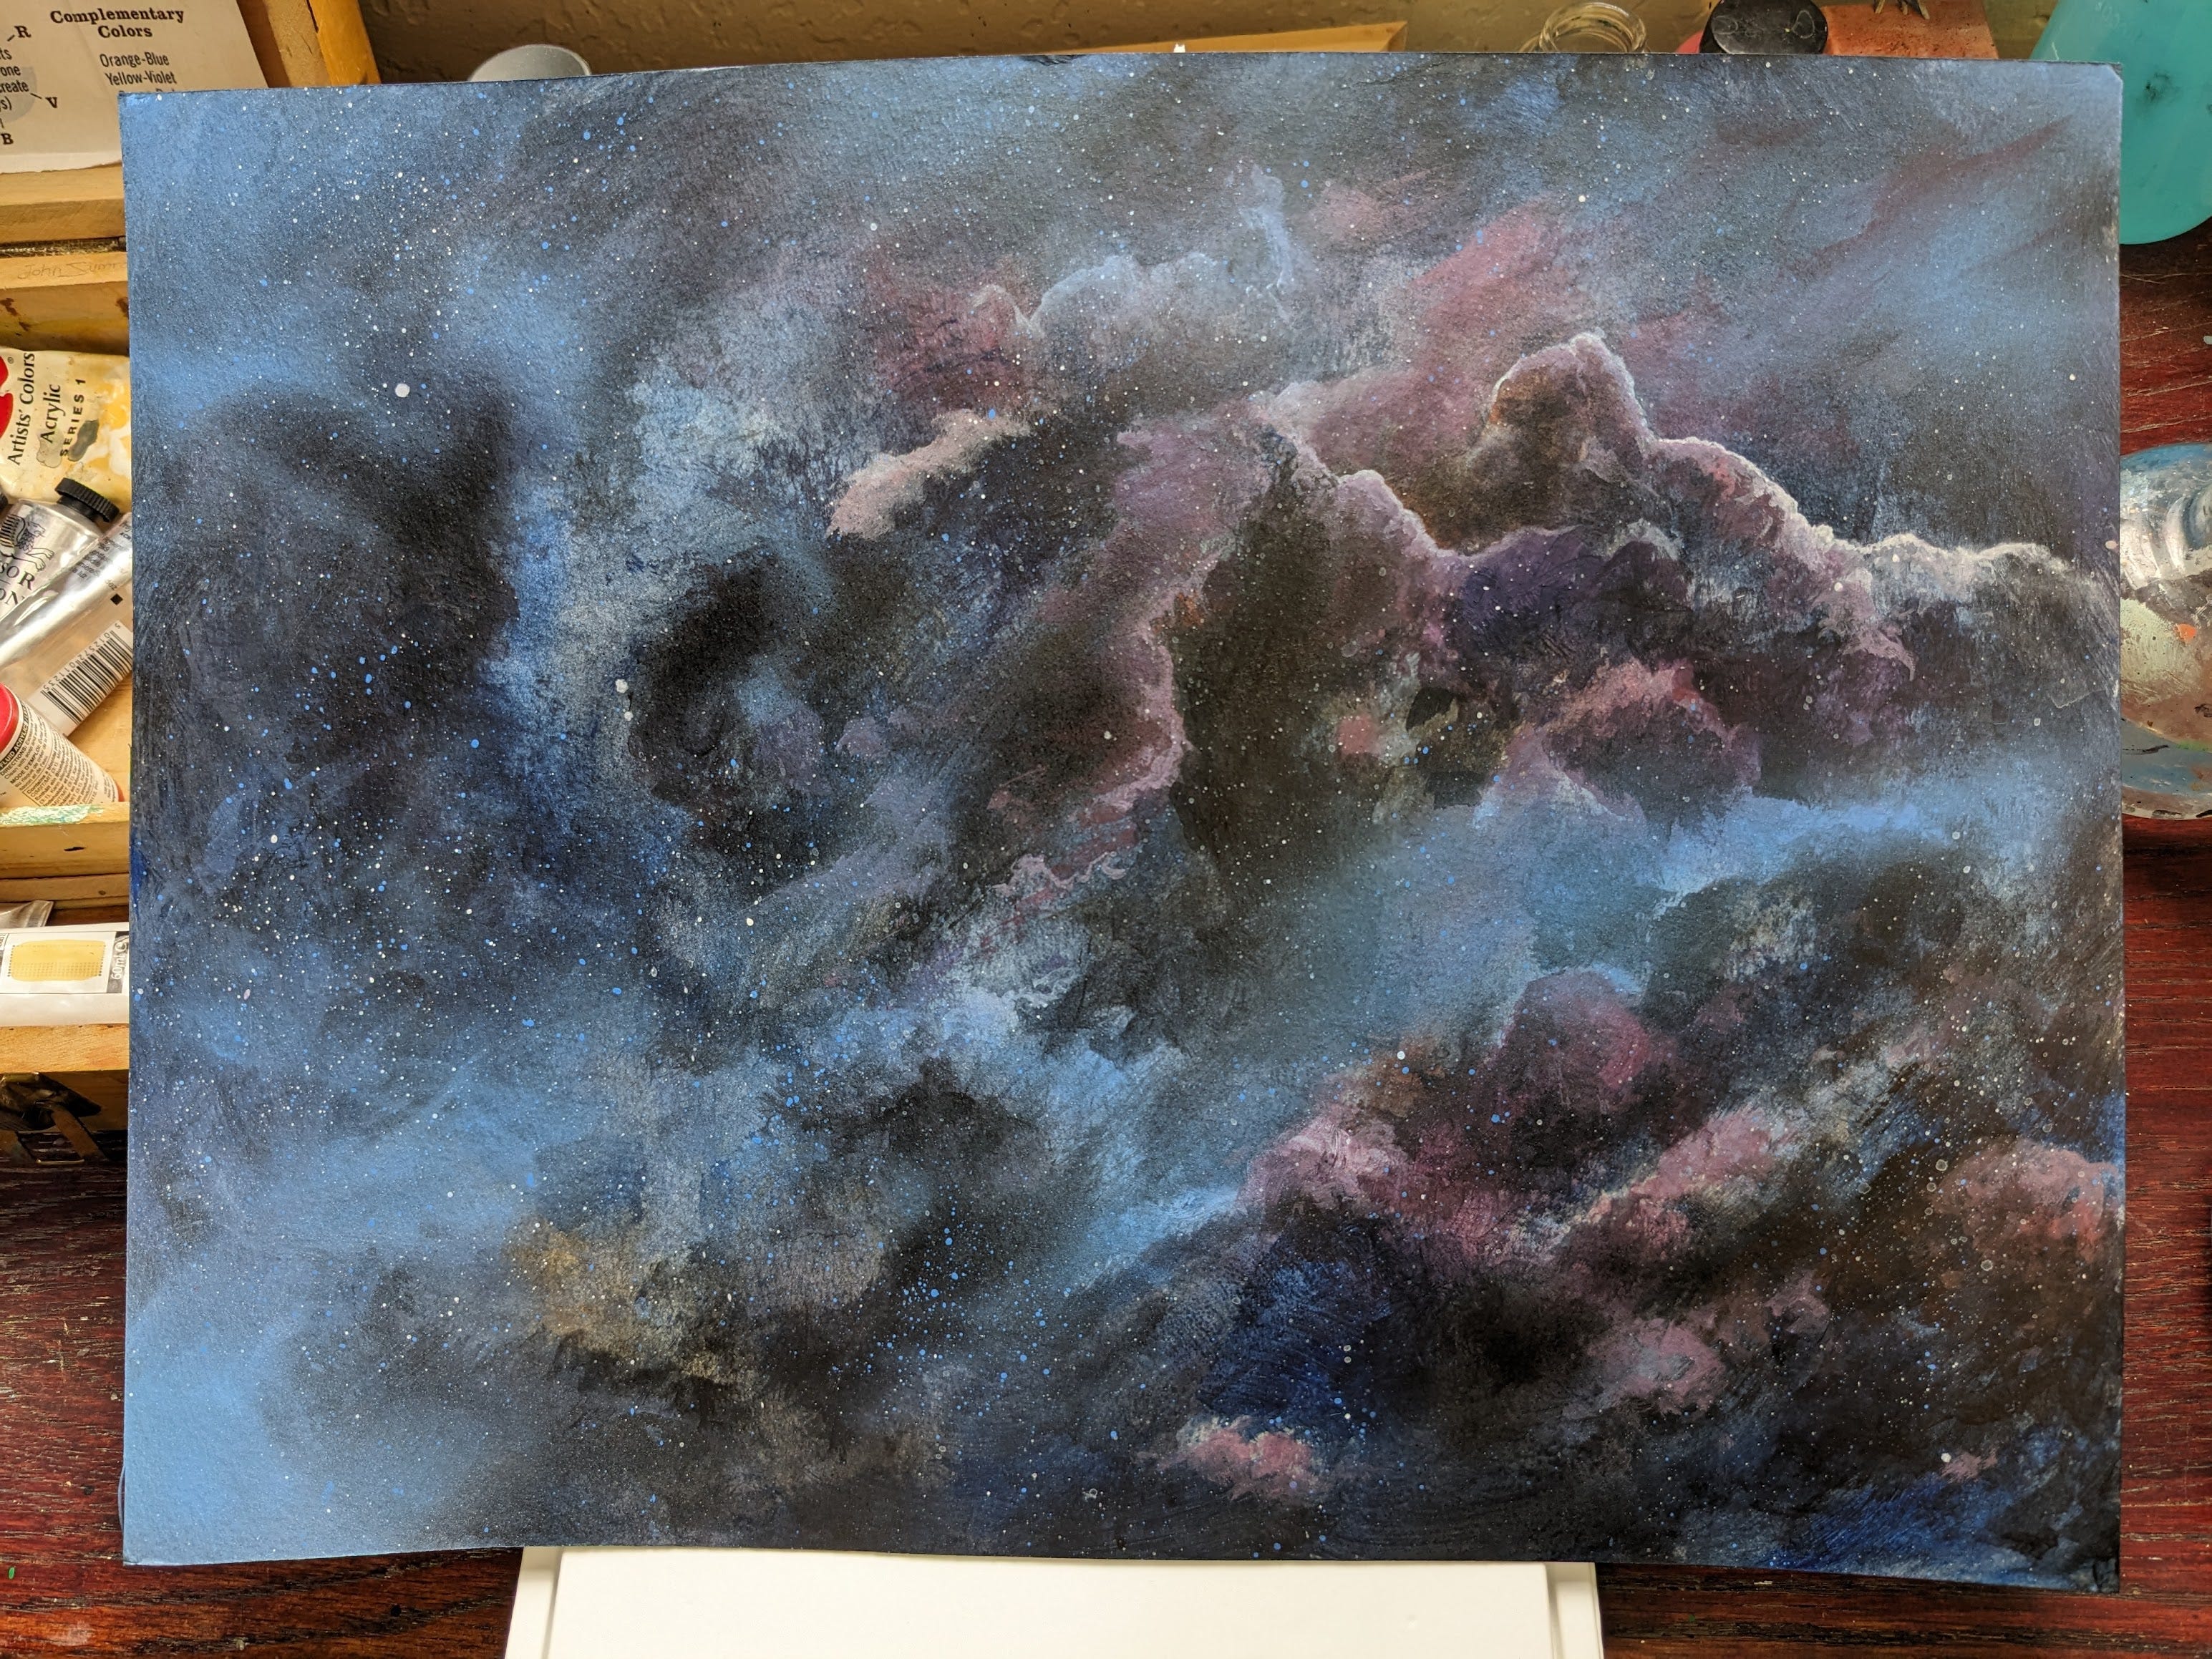
Let’s make a spiral of space around the main subject and keep it softer and more defused. The background needs to help the subject, not overpower, or draw attention to itself. From experience a soft, out of focus background is what is needed for this one.
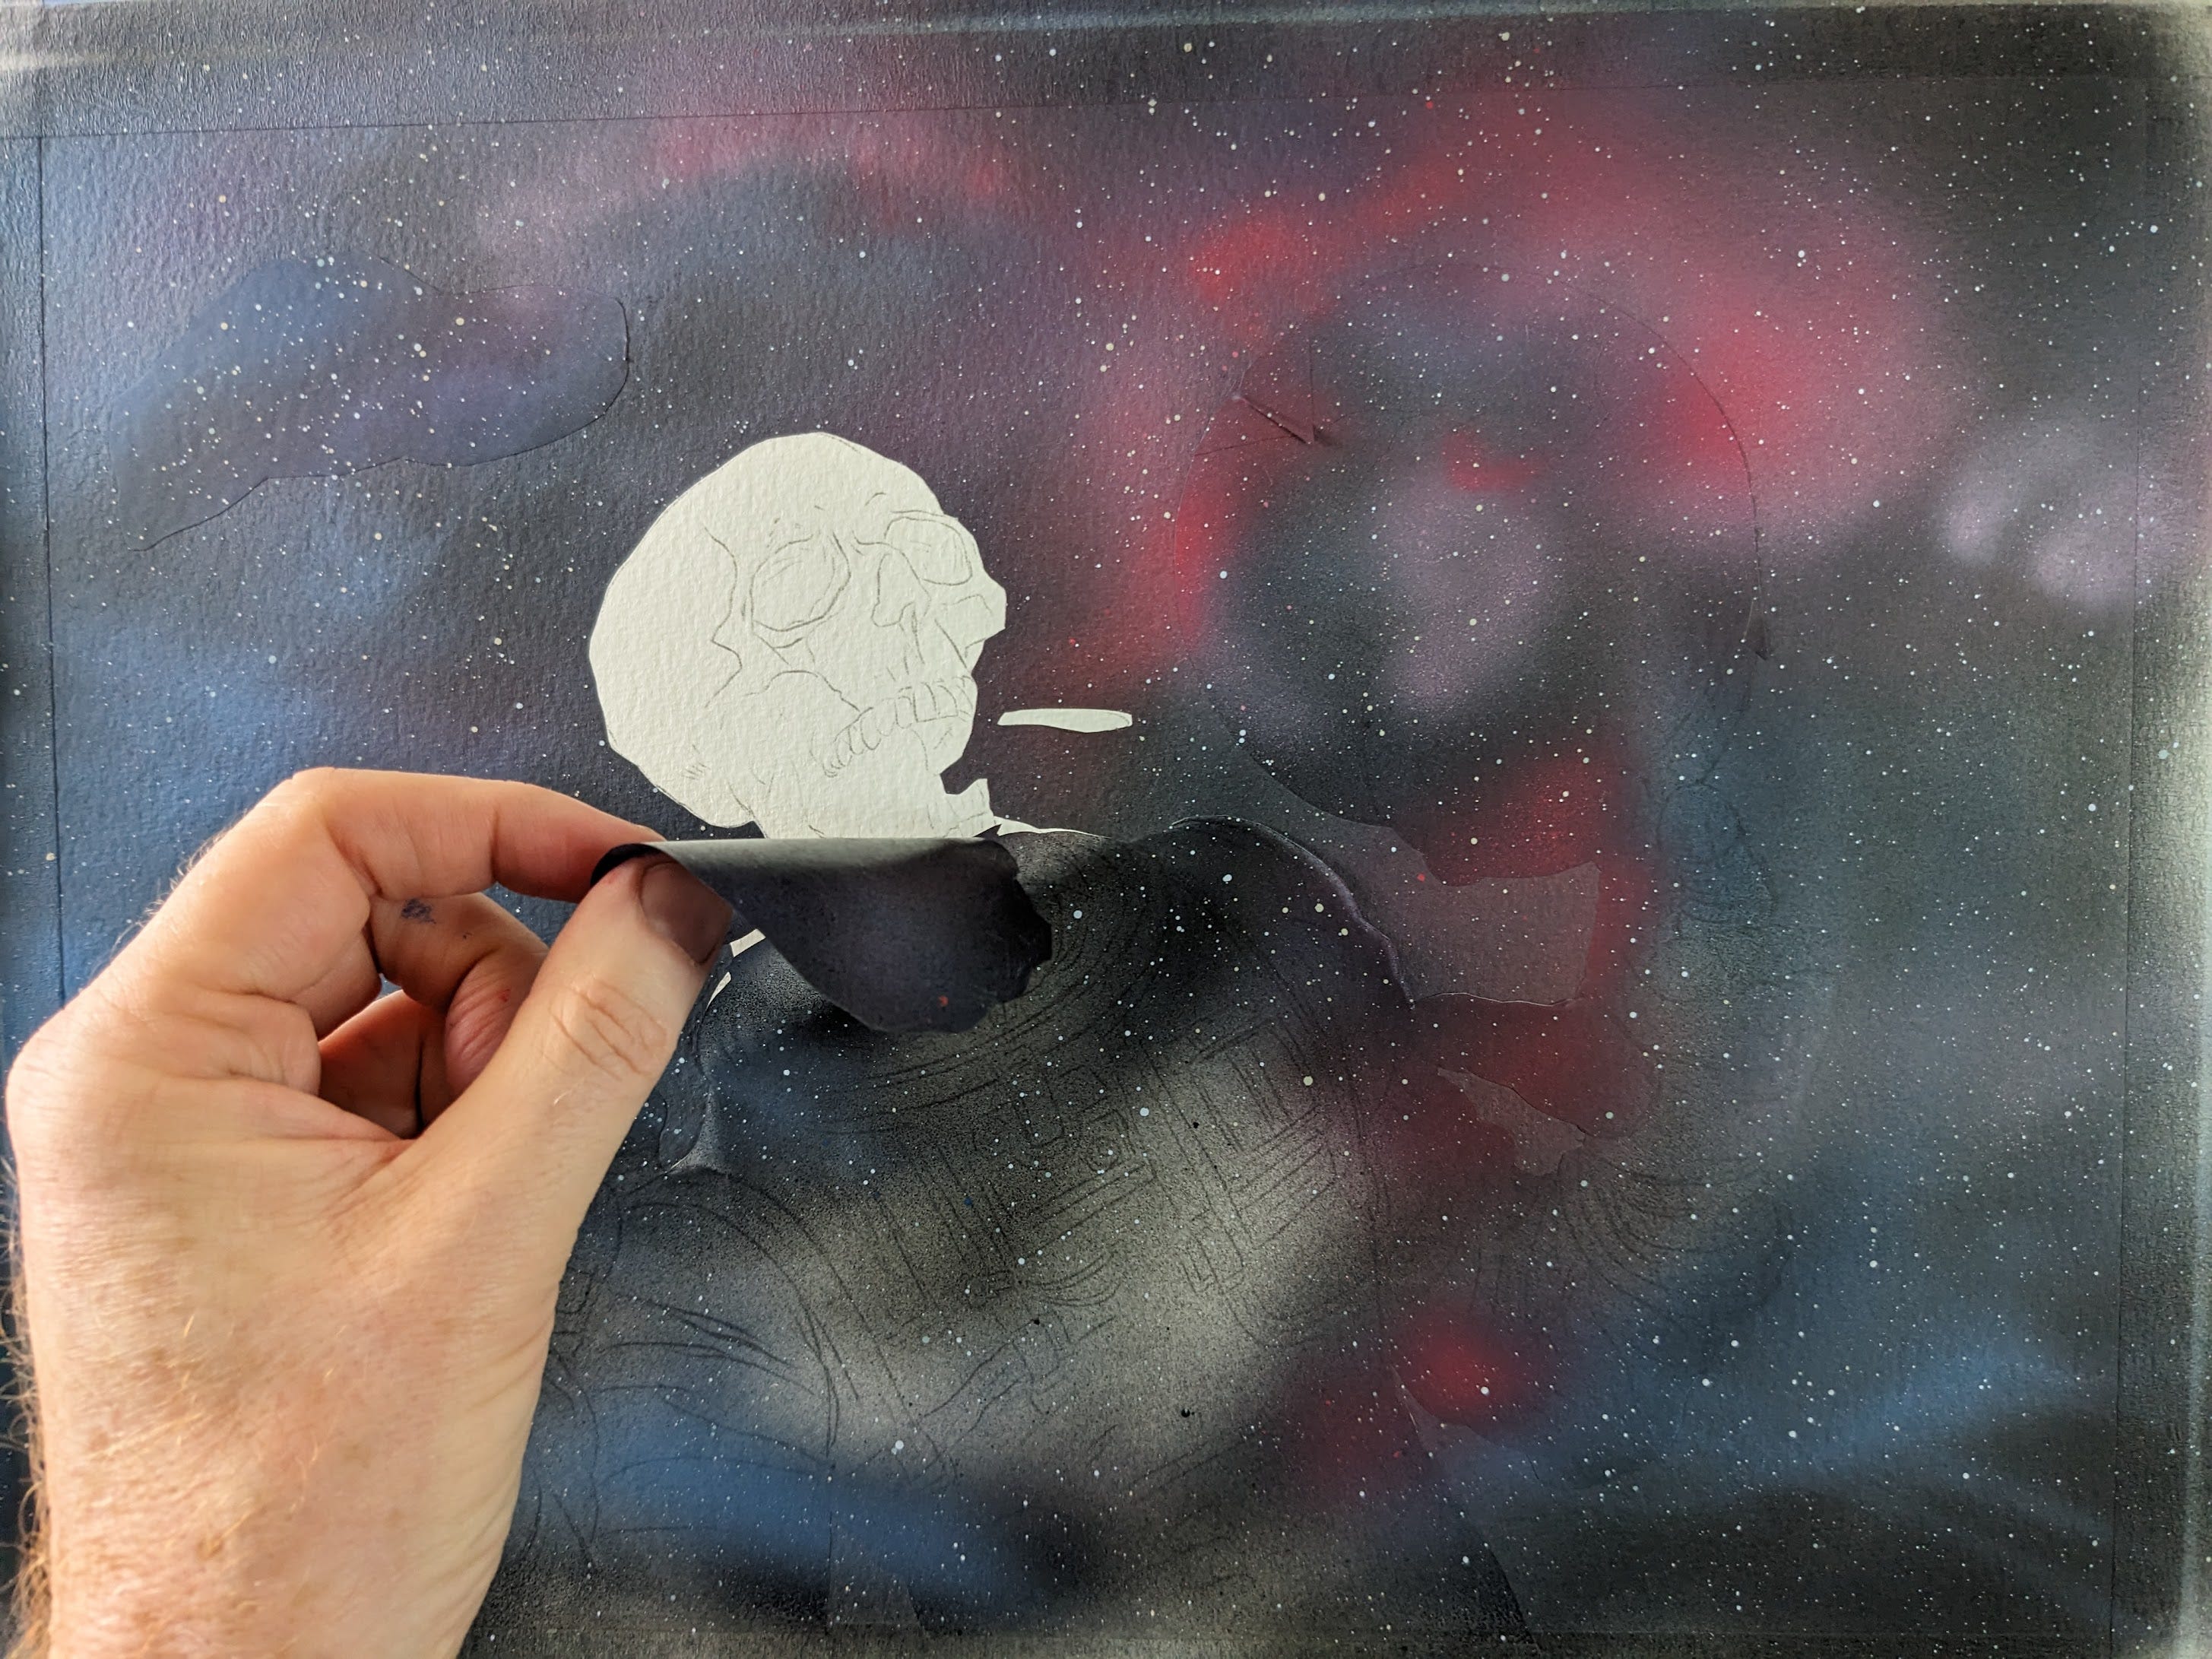
As you can see above, the film protects the figures and allows the airbrush to spray just in the background. With the film protecting the subjects you can go nuts with the paint. Peeling off the frisket film here, there are always sharp edges. These will be dealt with durning the main painting stages.
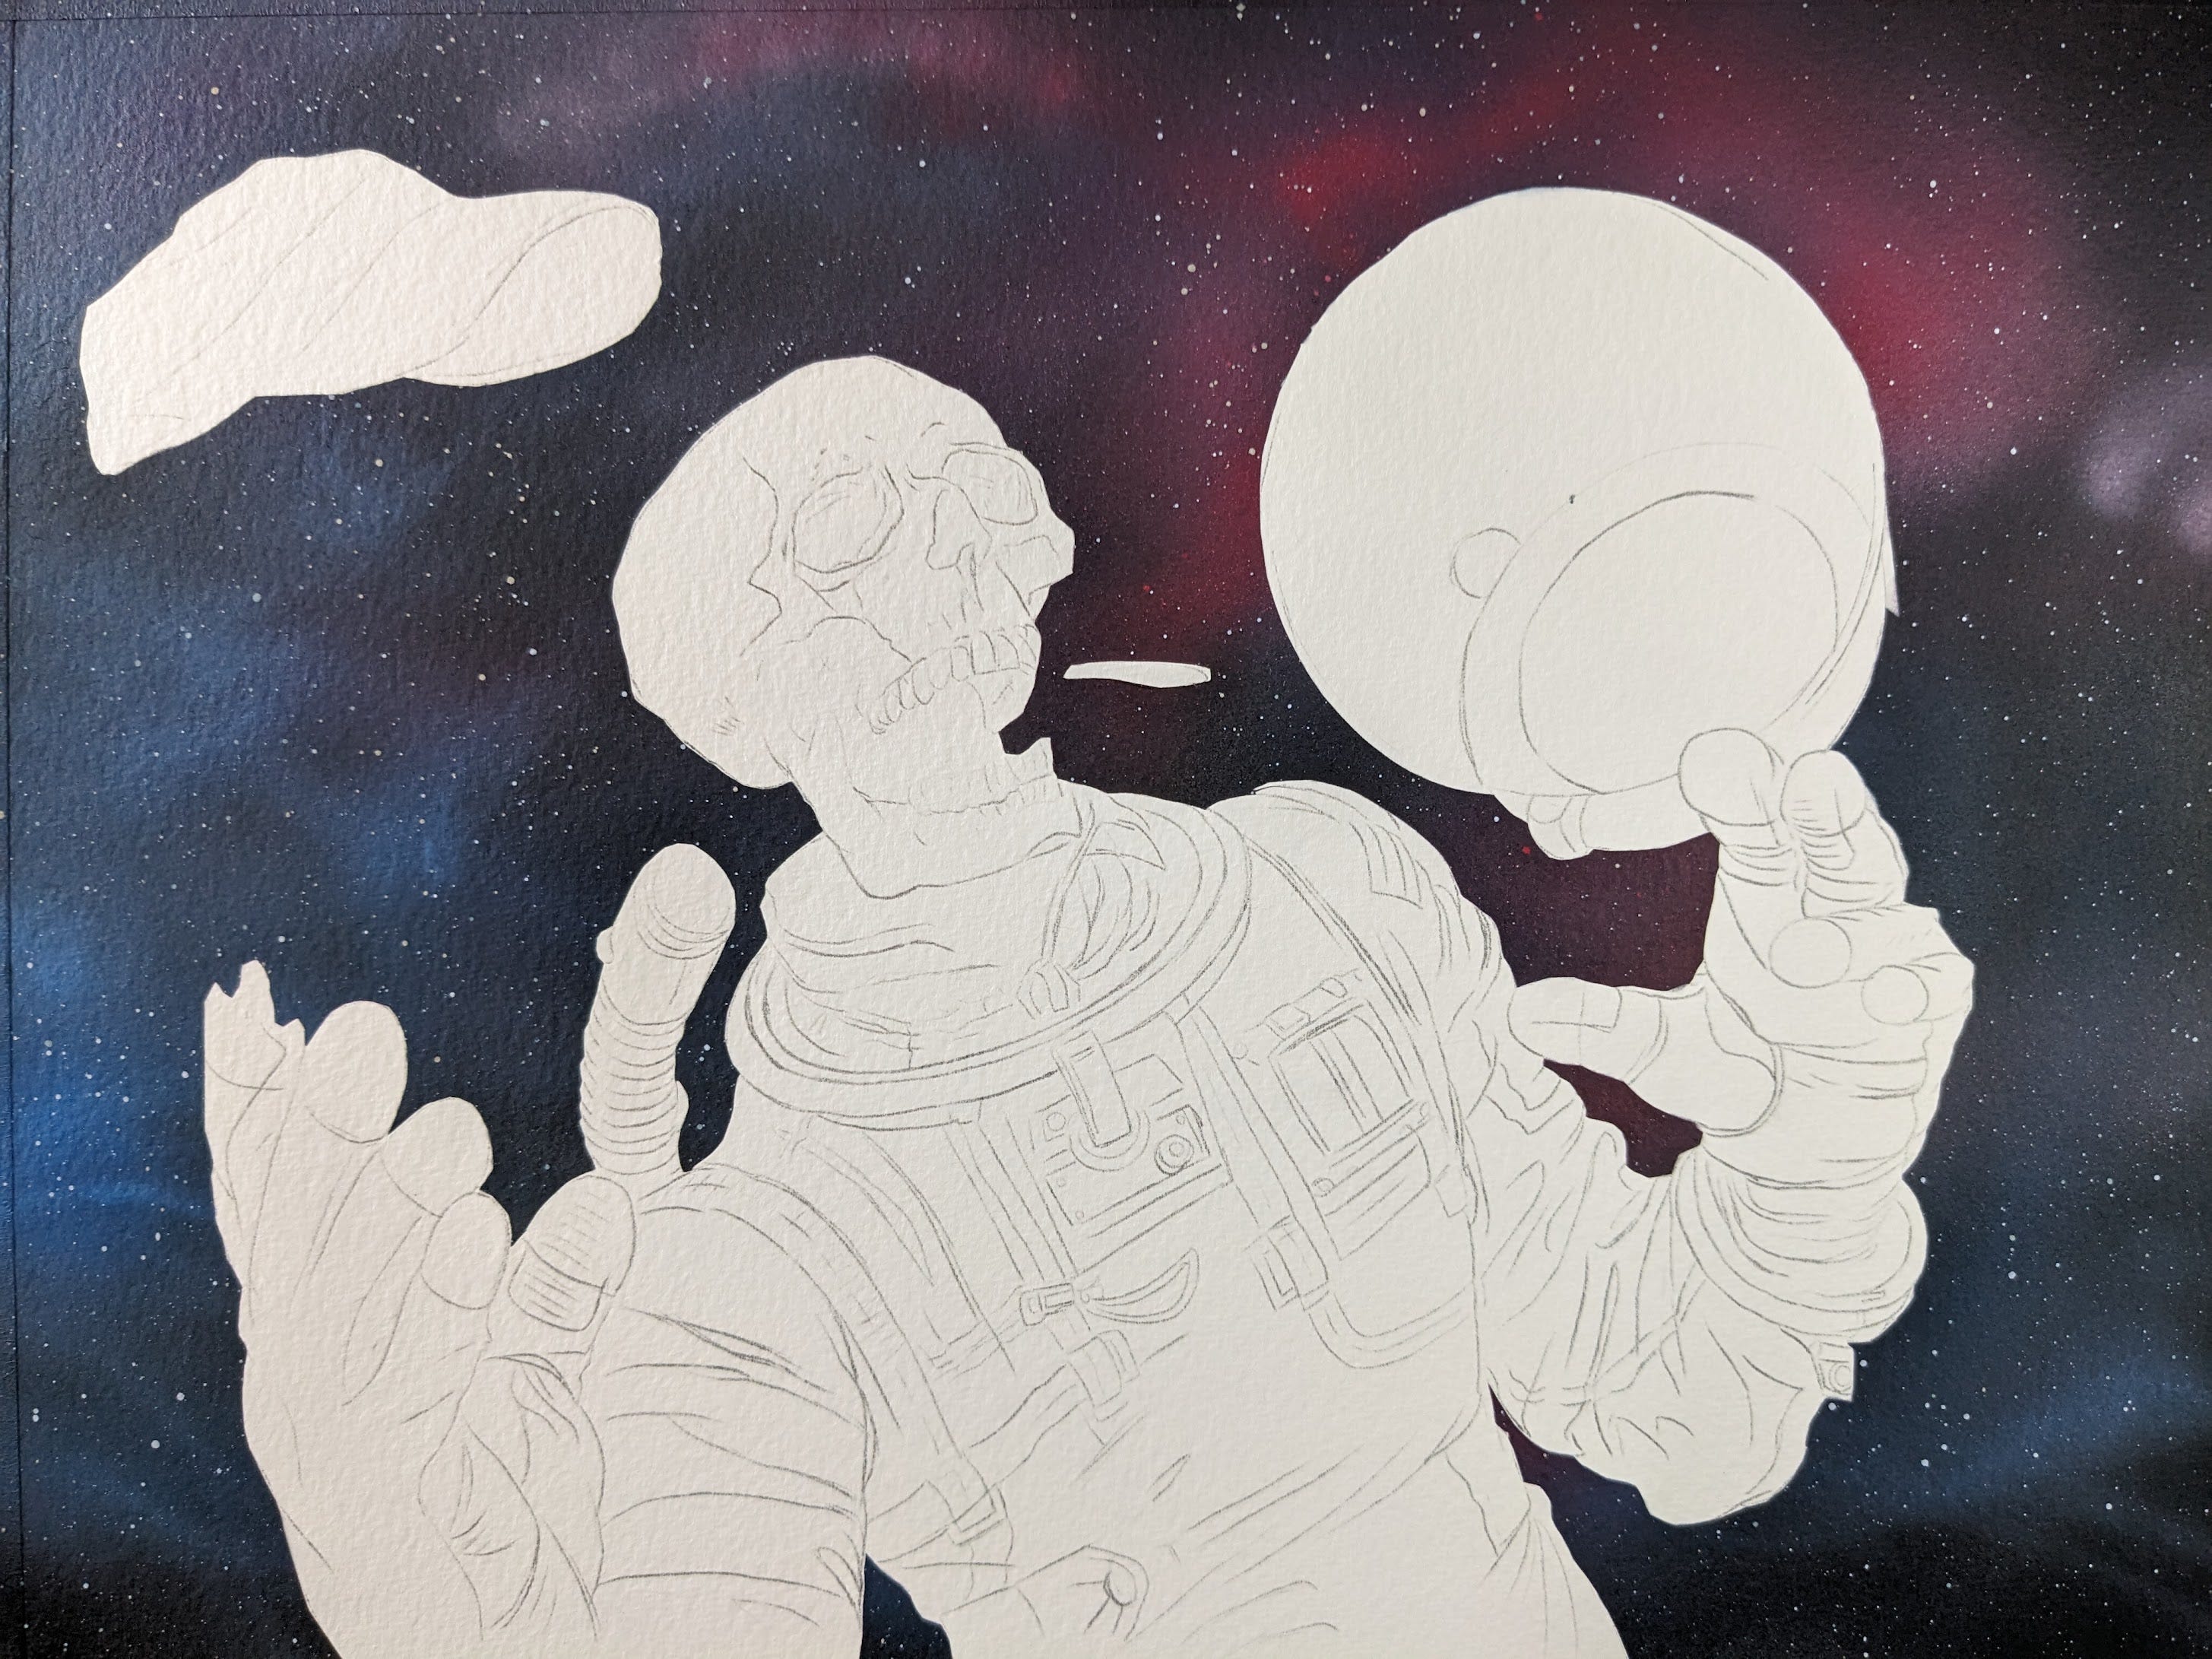
Frisket removed. Let’s get to painting.
5: Base Colors

Notice how the soft background helps pop the main character forward. Next I drop in an earthtone to form all the shadow structure of the main figure. Using ivory black, yellow ochre, and a touch of red to make various earth tones, I lay in the shadow structure of the piece and render the skull. Now we are starting to see the figure form.
6: Painting, Painting, & more painting
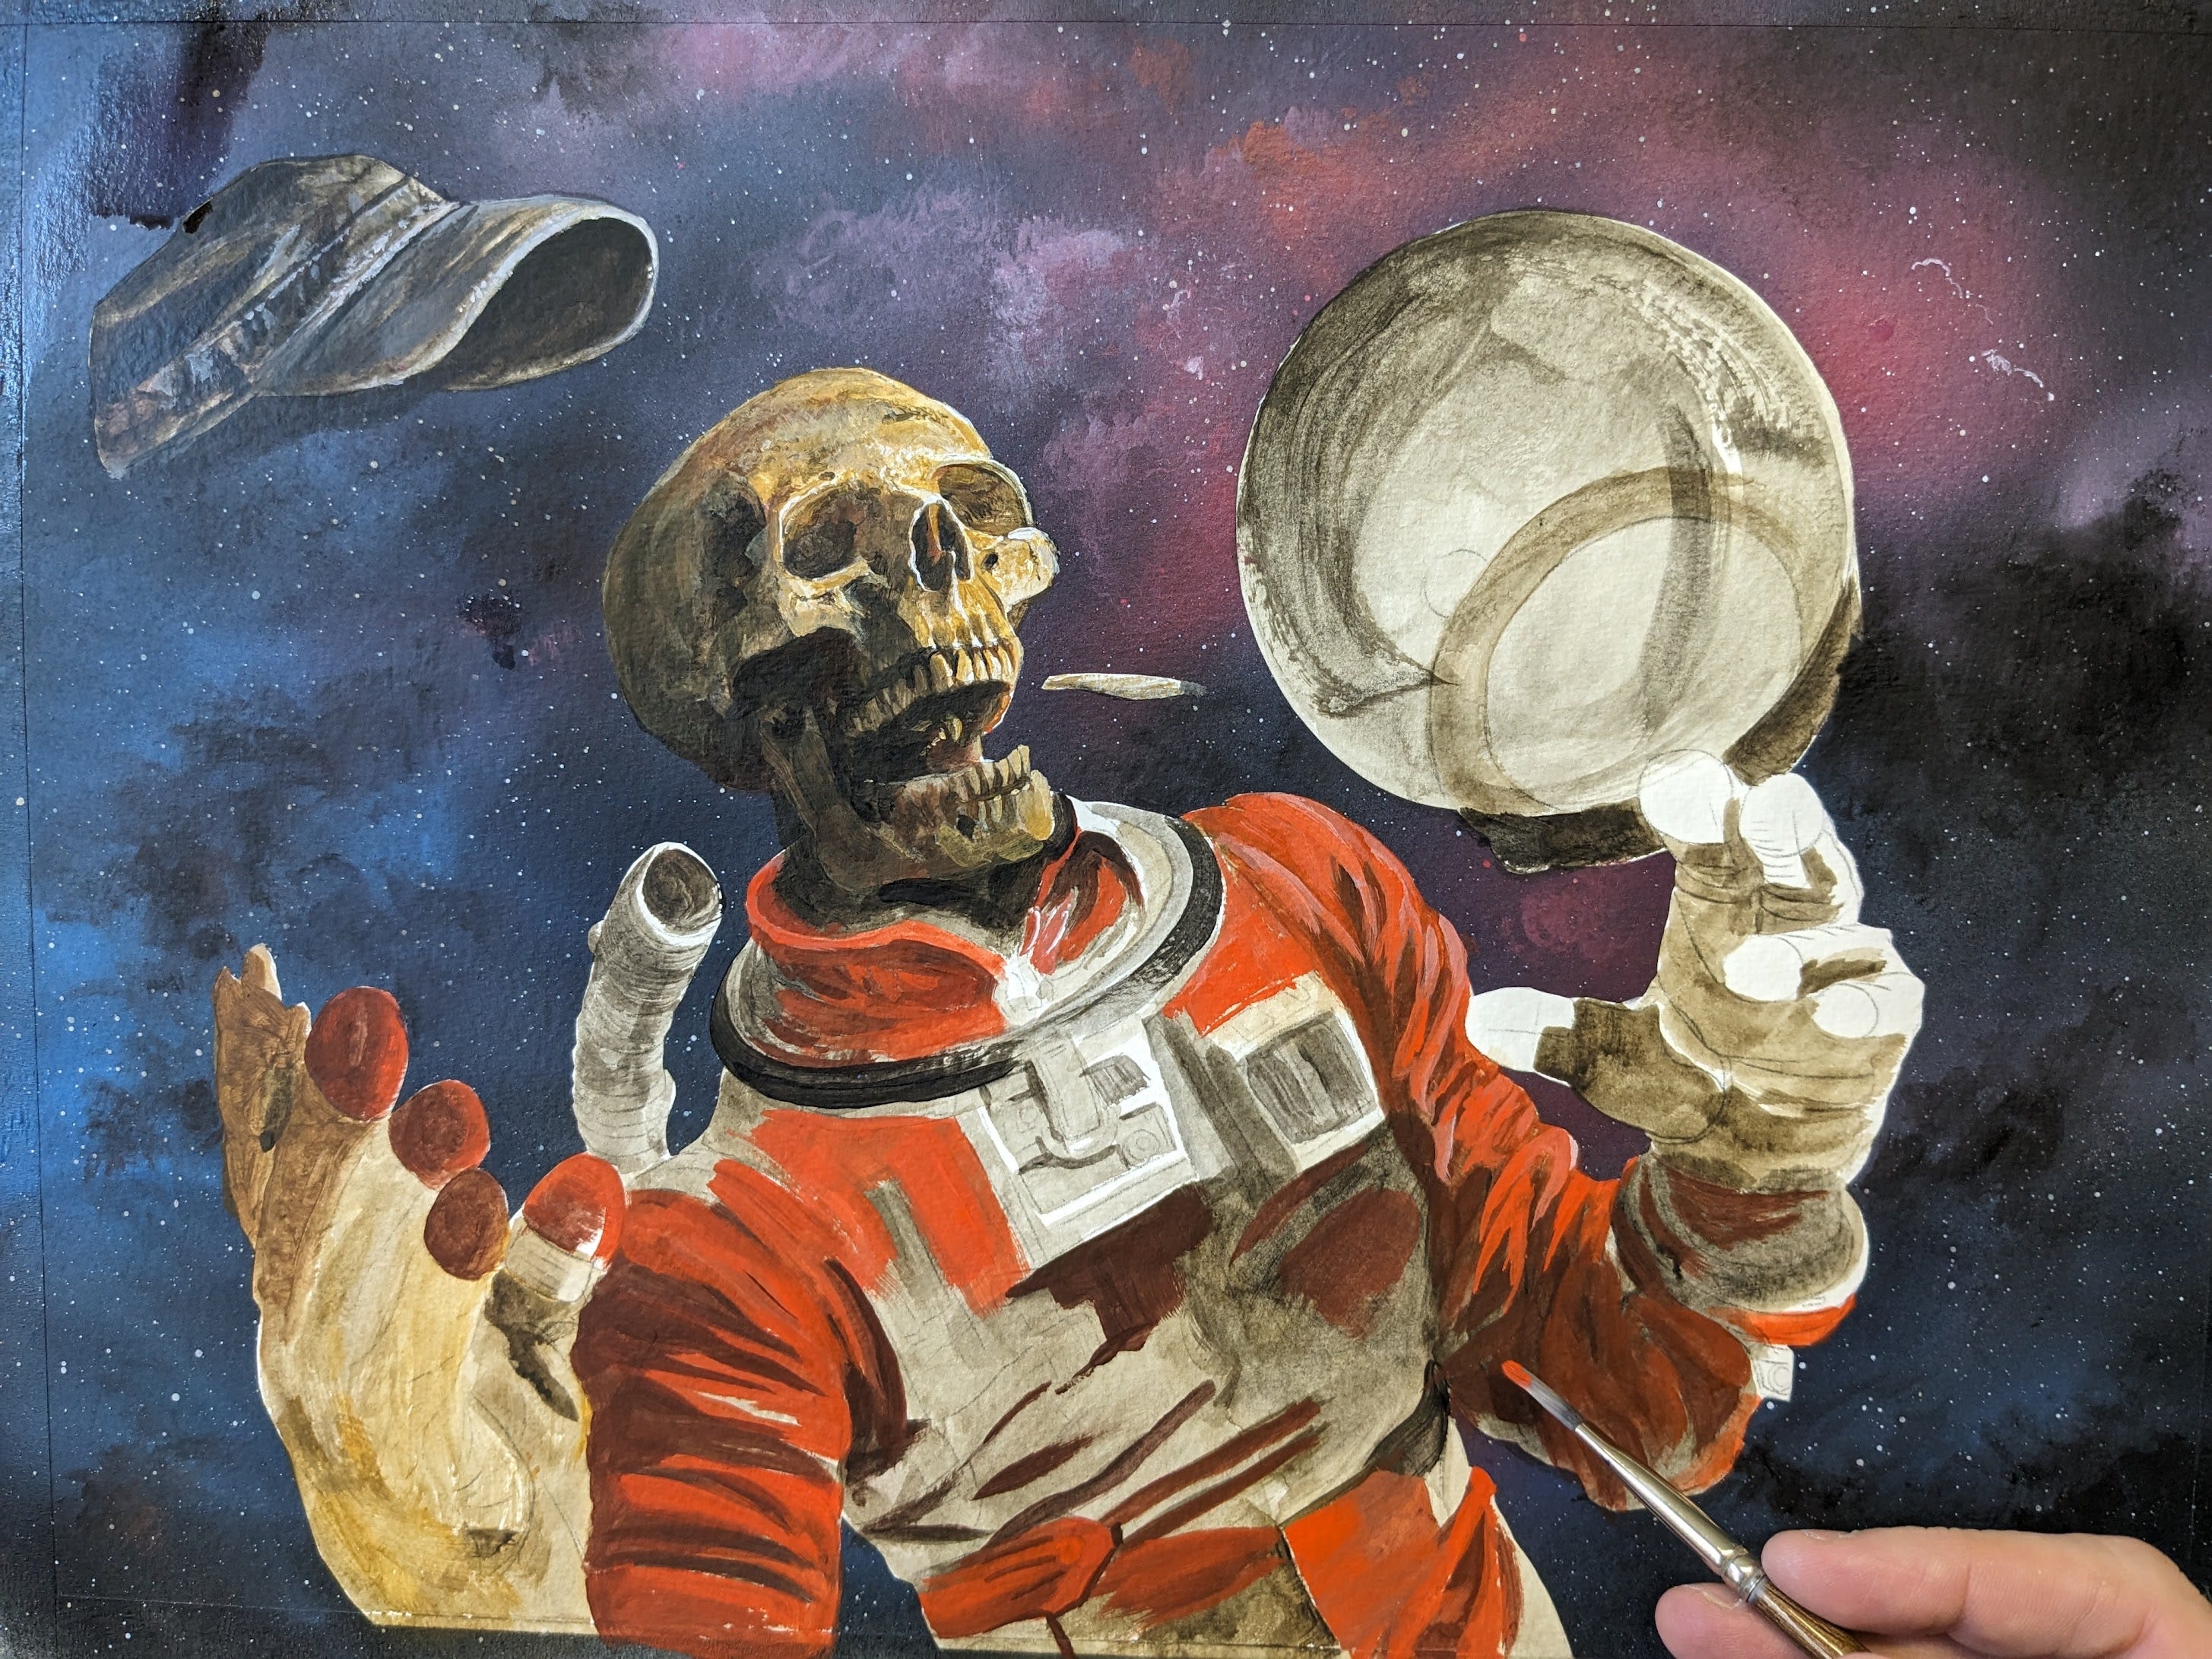
Layers: This phase is all about going slowly to build up the level of color until the piece feels right. This is where the bulk of our time is spent. I work largest to smallest brushes always, and largest forms to smallest. This will get more painting done in the fastest amount of time, with least effort. Resist the siren song of small brushes, that is black hole best saved for last. A good rule of thumb is always use the largest brush you can for each passage you are working on. Keep in mind fewer, bigger, and simpler strokes pack more punch than a lot of small noodling strokes. Large bold moves evoke more interest.
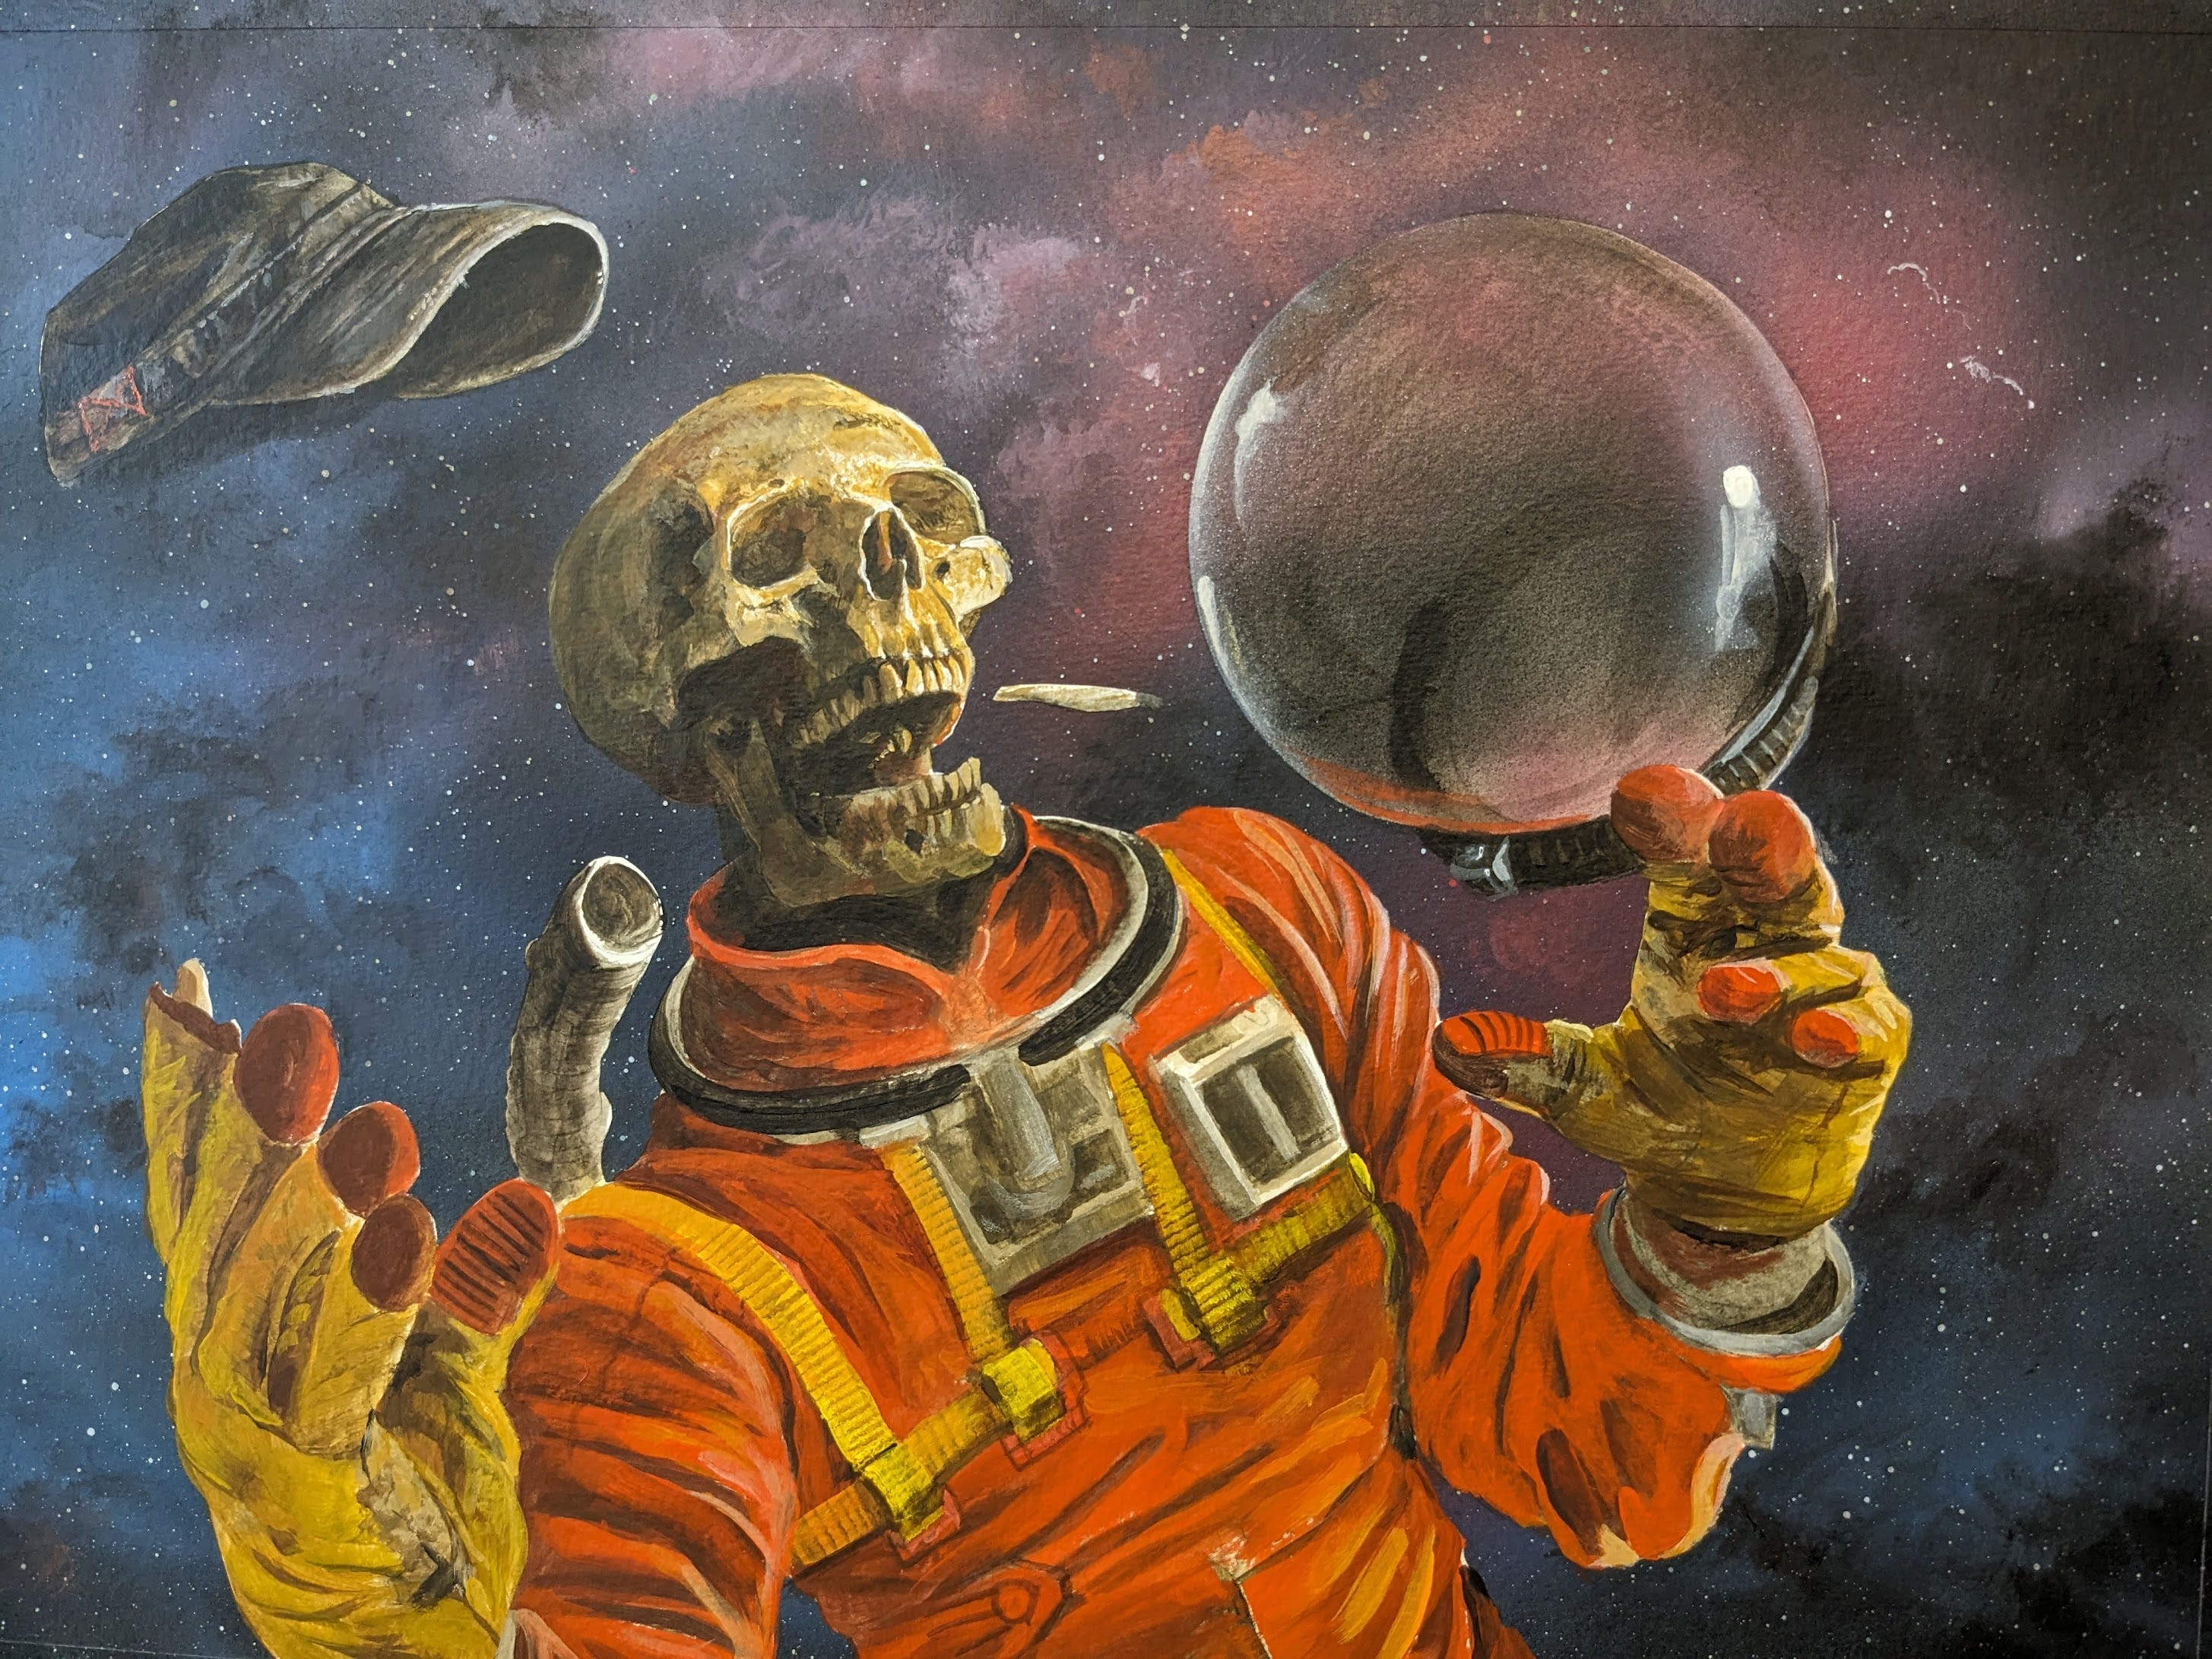
Base Colors & Shadows: The bulk of the painting is done. All the large areas are painted in, now we only need to add details to all the things. Hahaaa.
7: Finished
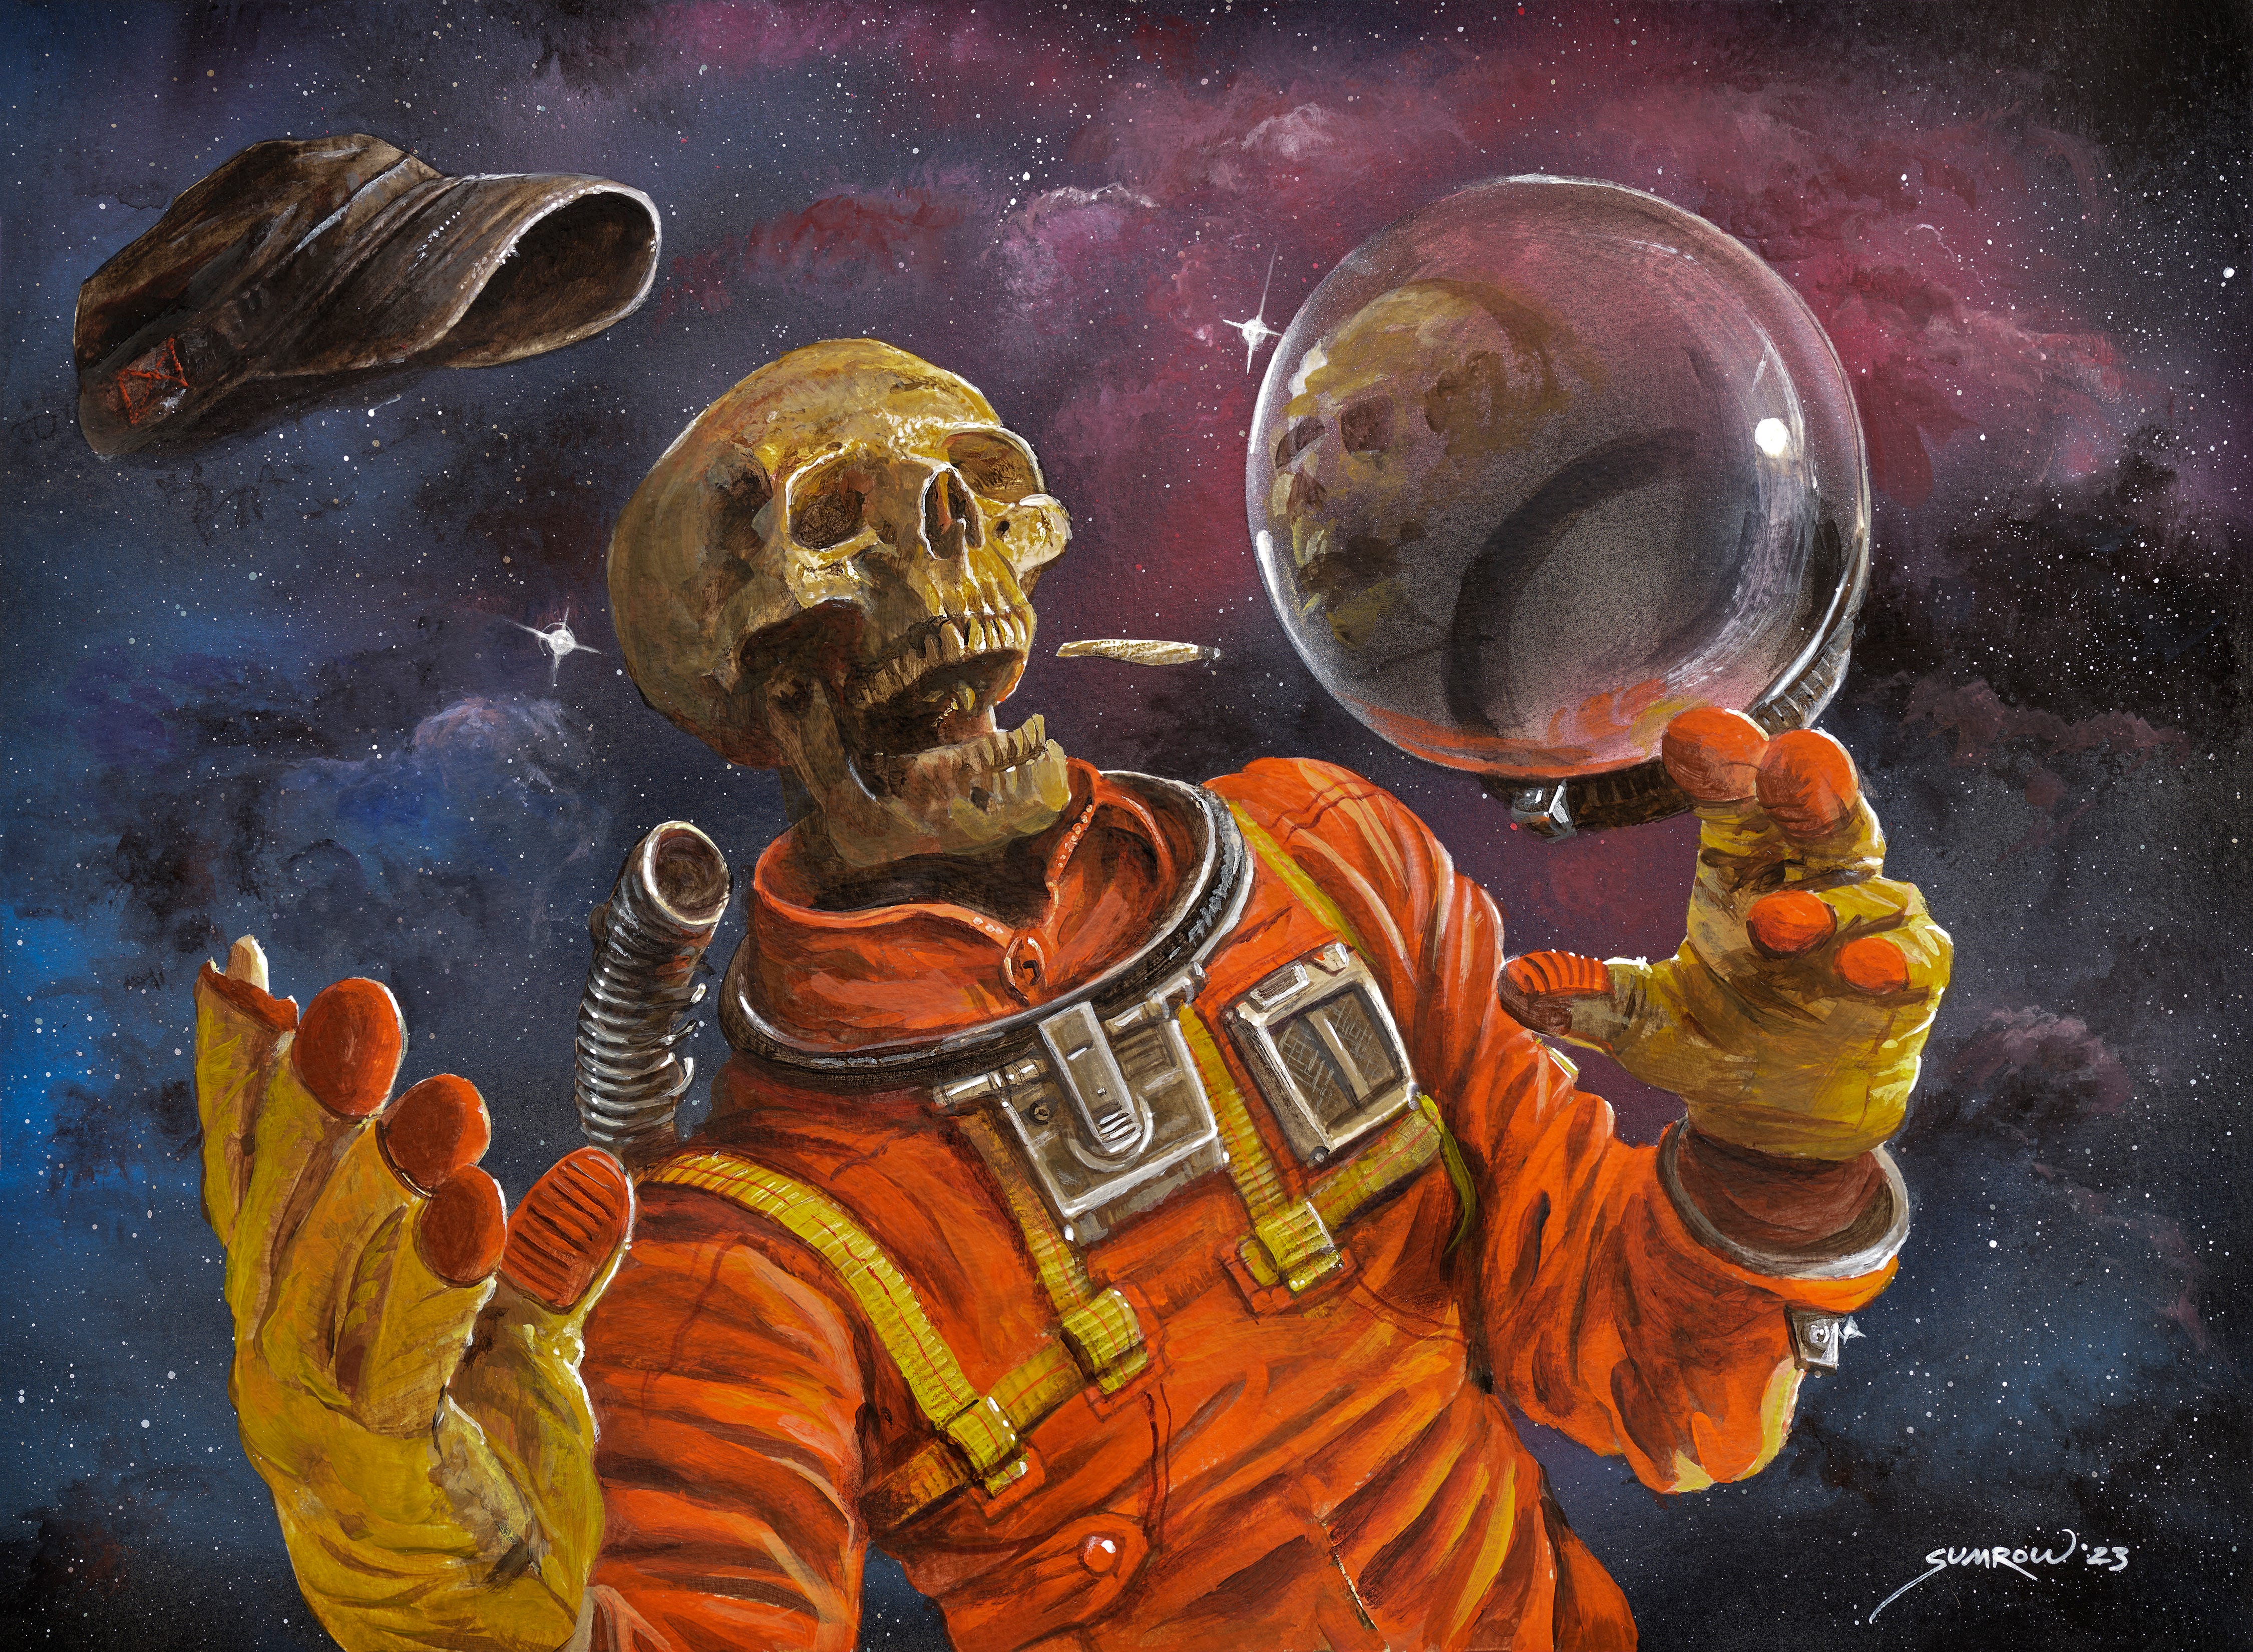
Finished: Details and details. As you can see this phase is all about tightening up things and adding all those highlights we have been eager to paint. Let’s sign it and call it done.
8: Printing, Signing, & Shipping
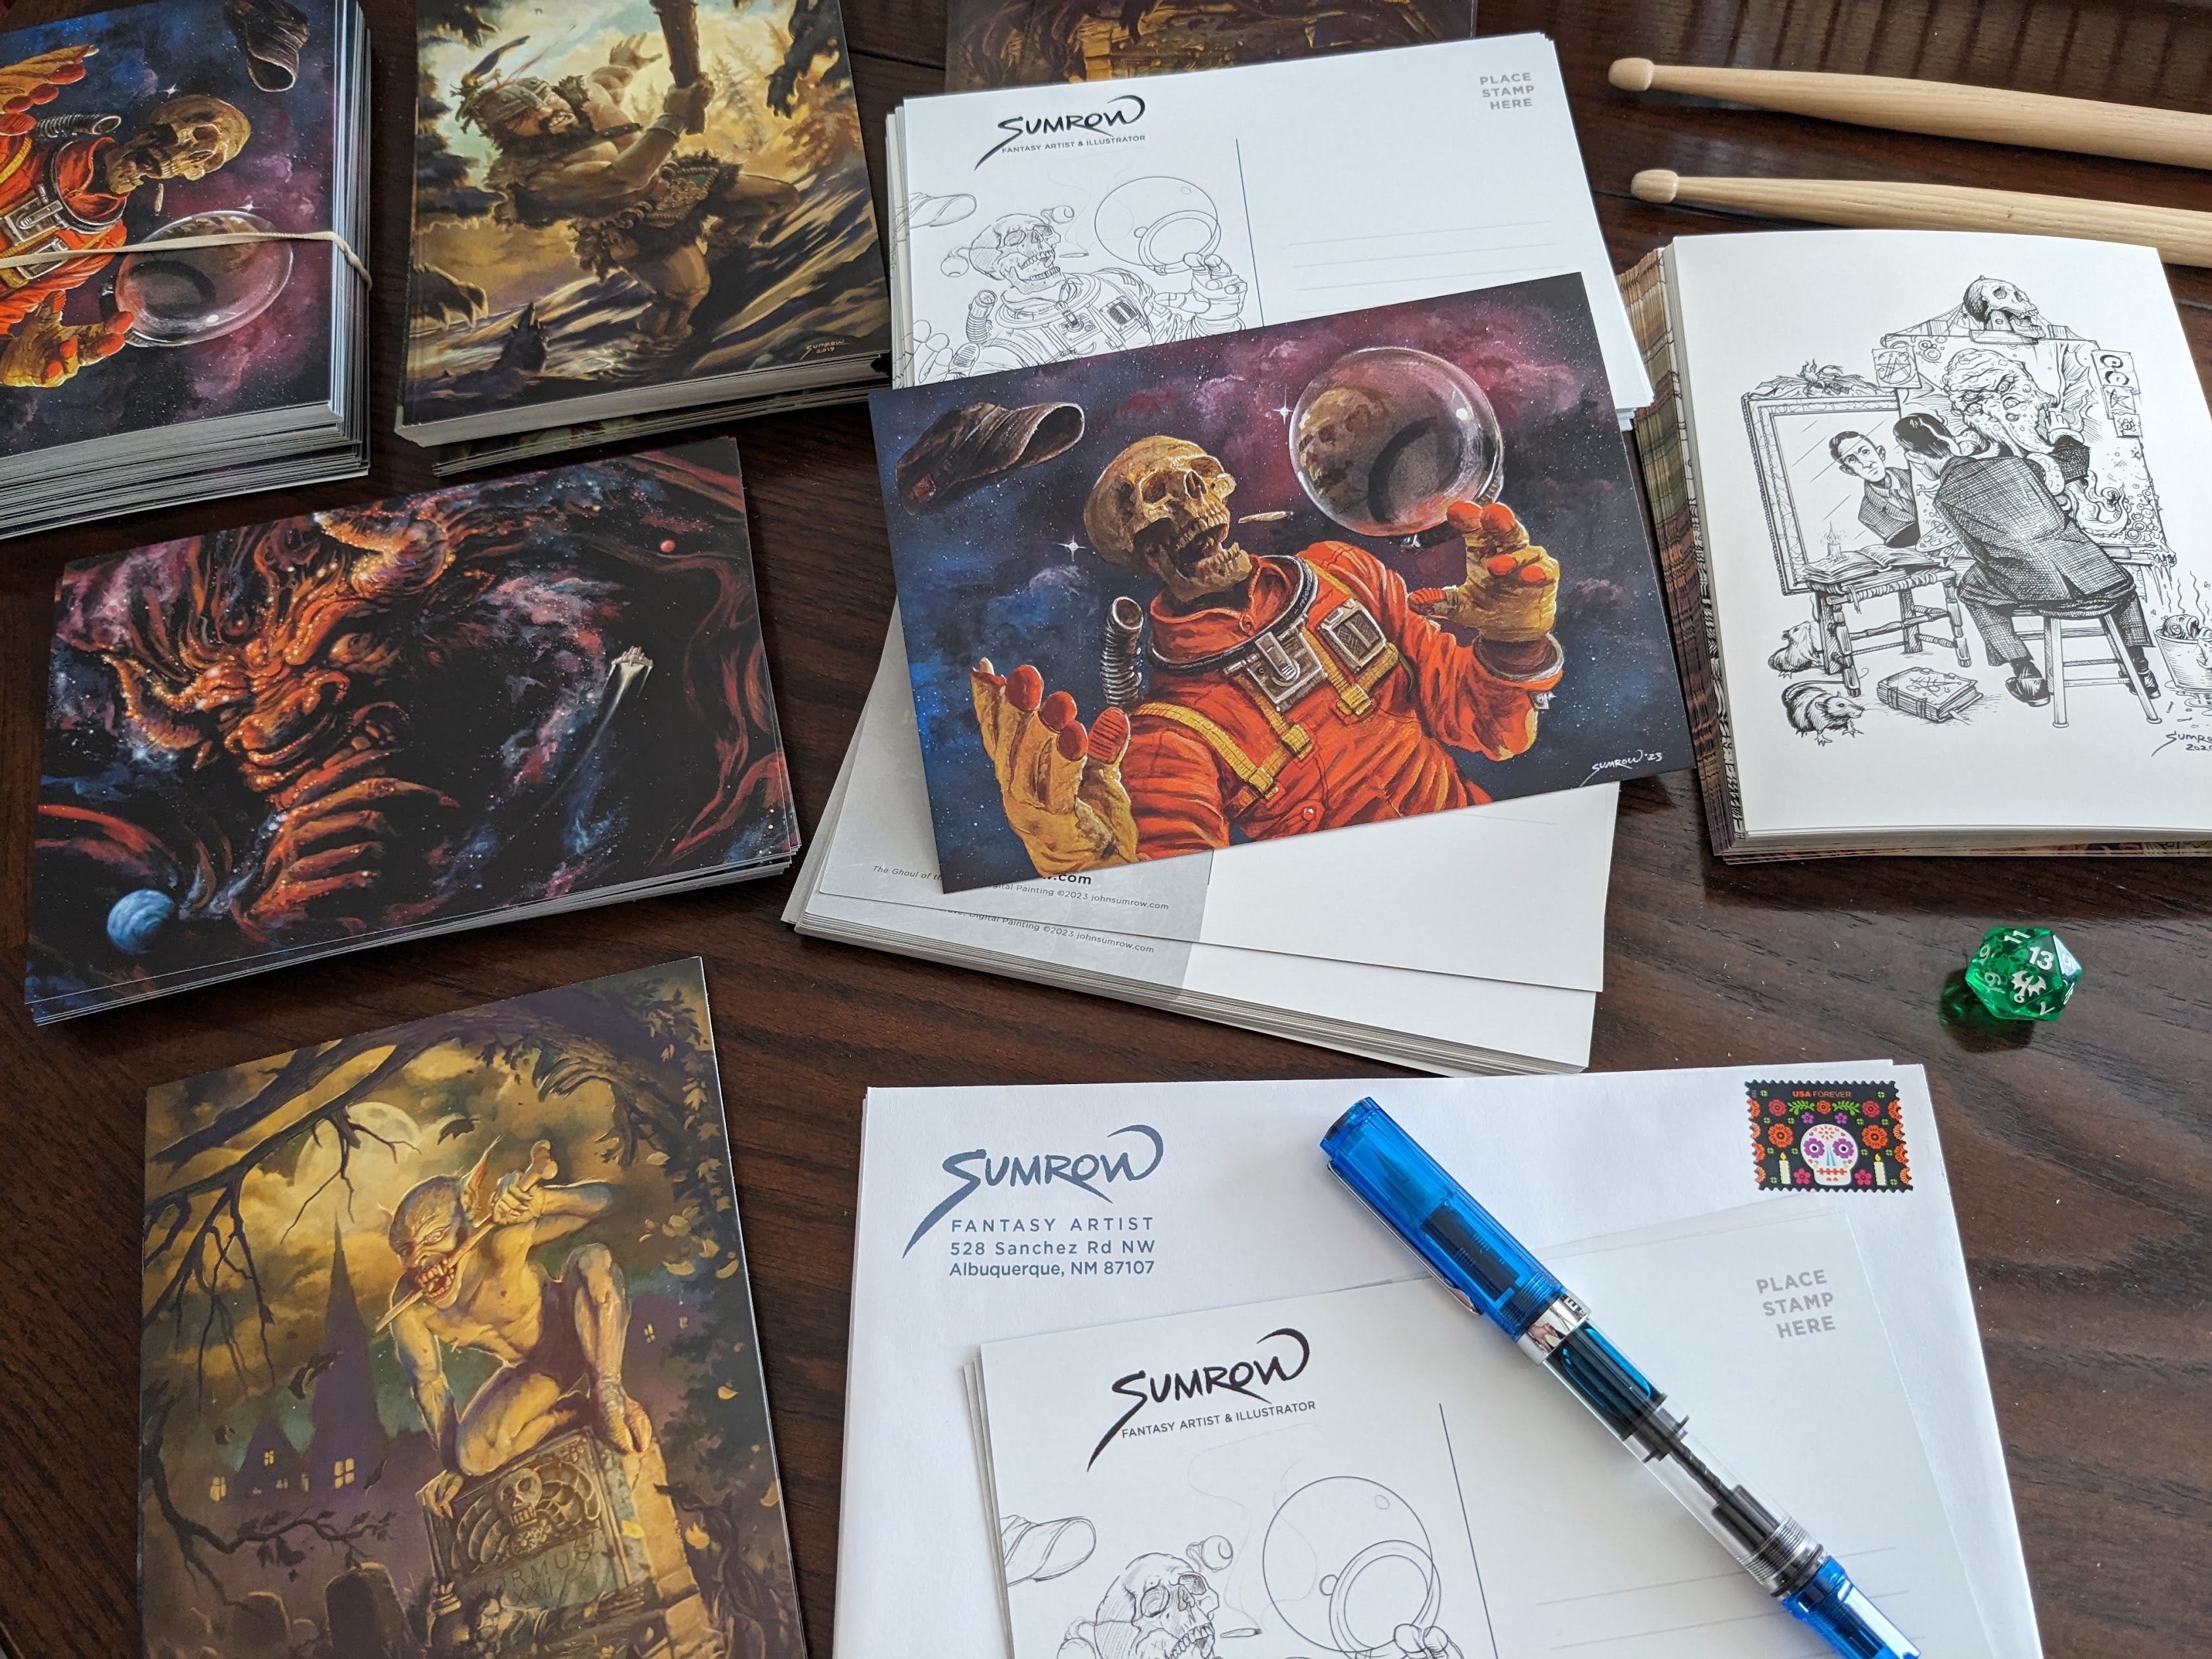
The next phase is nice and relaxing. A scan of the final art is done, and the files are set in Adobe InDesign. The files are sent to VistaPrint.com and a few hundred are ordered. The cards arrive a few weeks later and I get to signing! They are then shipped around the globe! Been rocking a Twisbi Eco fountain pen lately, and some Pelikan Bottled Ink. Good times.
Support the Artist Journey
Change how you feel about going to the mailbox
Suggest painting ideas –> vote –> receive Art in the Mail Monthly
For the cost of a fancy coffee, you can become a Patron of the Arts

Over Five Years of Epic Fantasy Art, 6000+ Art Postcards shipped worldwide
This Art happened because of great support from people like you! Membership gets you a voice, a vote, and an Art Postcard each month! Everyone wins. <3